
How to edit the double opt-in settings
EmailOctopus uses a single opt-in setting by default, but you can switch to double opt-in anytime.
To edit this setting, go to the Consent & customisation tab in your list, and click Double opt-in email.
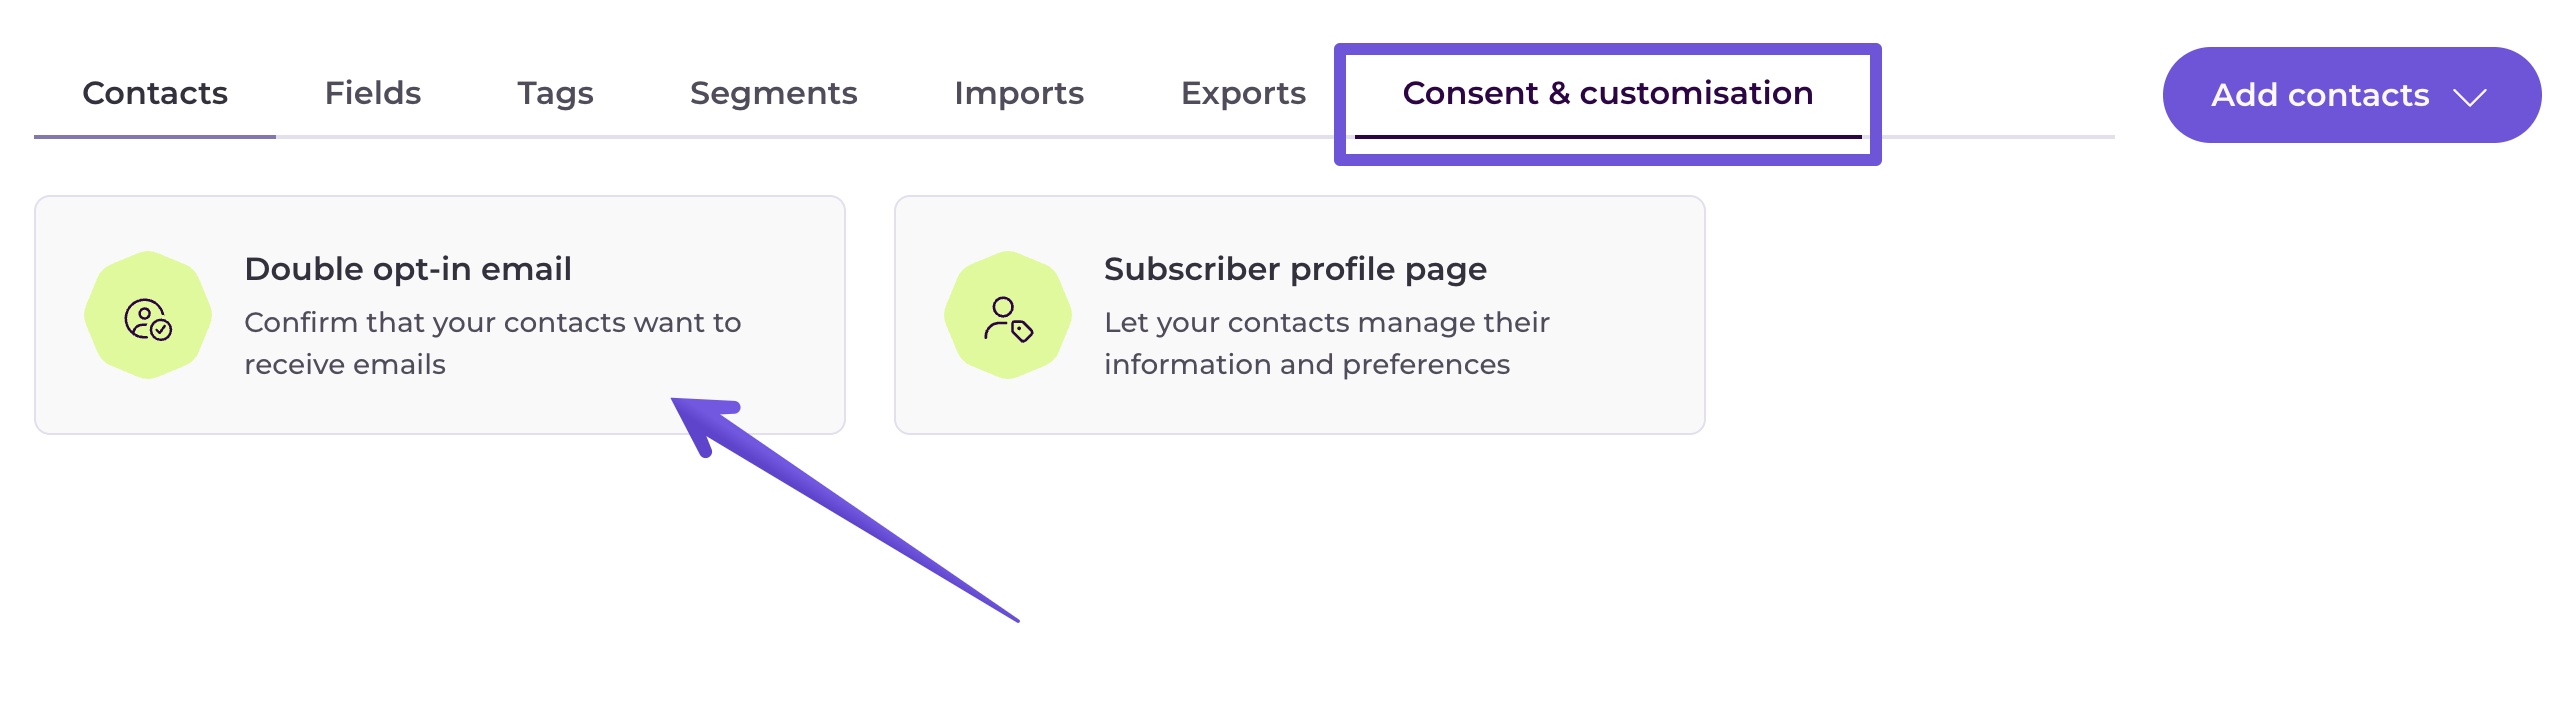
Move the toggle to enable double opt-in on your list. Then, you can adapt your message and sending details.

Once double opt-in is enabled, anyone who subscribes will receive an extra confirmation email asking them to verify their email address.
Under the Success page, you can edit the page title and body text that subscribers will see after confirming their subscription. Click the Save button once you're happy with it.

How the double opt-in process works
The double opt-in process is made up of two simple steps. In the first step, a contact will fill out and submit your online sign-up form and be added to your list with a Pending status. Then, they'll receive an email with a confirmation link they need to click to confirm their subscription. Once they click the link, their subscription is confirmed, and their email will be added to your contacts with a Subscribed status.
The double opt-in emails are only sent to users added via the API and our forms and landing pages. Contacts added via the Dashboard (either manually or via import) will not receive a confirmation email. You must already have permission before adding contacts via the Dashboard.
Re-sending a double opt-in email
EmailOctopus does not allow you to email users who have not confirmed their subscription. If a user contacts you to question where their email is, you can manually change their status from Pending to Subscribed.