Integrating Wix with EmailOctopus
Wix is a powerful yet easy cloud-based service that allows you to create beautiful websites and online stores without any coding skills.
This article explains how to connect Wix with EmailOctopus via a Zapier integration.
Integrating Wix with EmailOctopus
-
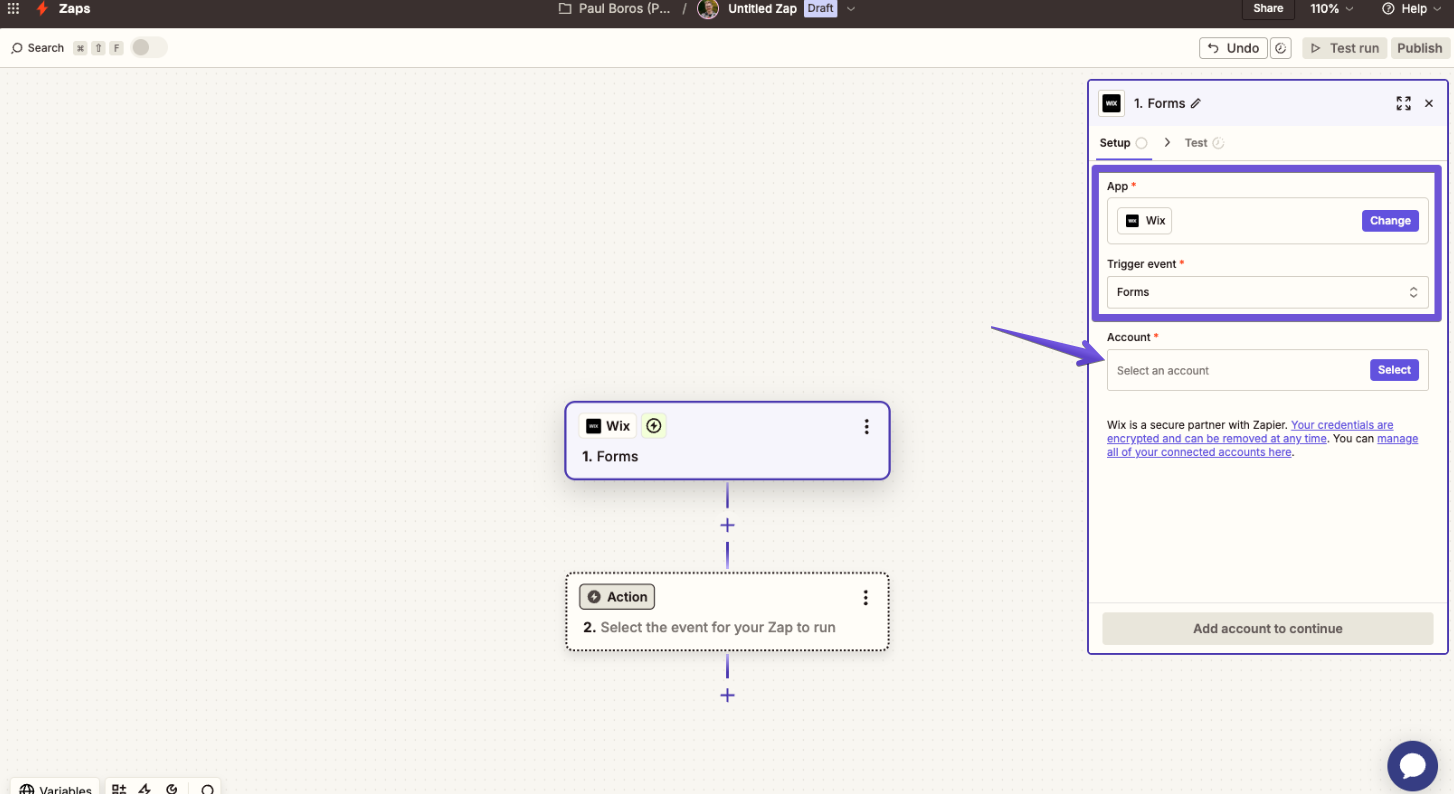
To start, create a new Zap, choose Wix as the app, and then use the action in Wix to use as a trigger. Form submission is the most popular use case, so we used "Forms" as the trigger event in our example. Then, click on the Account tab to connect your Wix account.
-
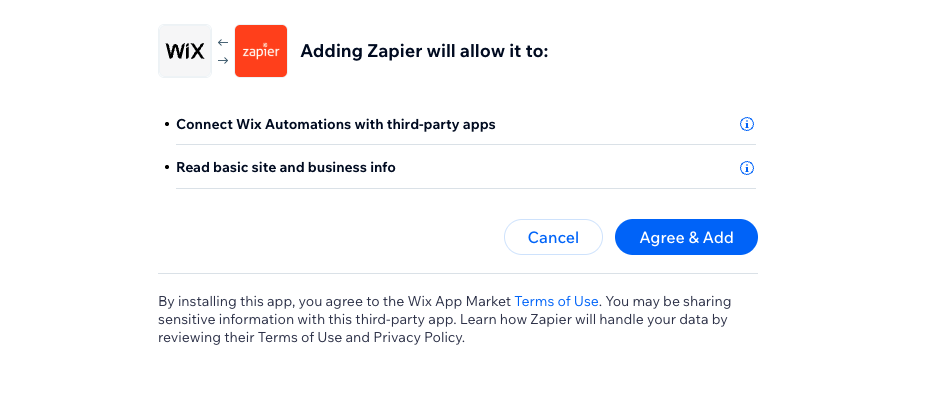
Zapier will ask you to log in to the Wix account. Next, it'll ask for permission to connect with Wix. Click on the "Agree & Add" button to proceed.


3. Click on the "Continue" button.

4. Configure the details of the trigger. In our example, we choose to have it work with a specific form submission.

5. Next, Zapier runs a test of the trigger. To proceed, click on the "Test trigger" button.

6. Now it's time for the action part of The Zap. Choose EmailOctopus and pick an action that is supposed to happen after the action in Wix triggers the Zap. In this example, we want to create a contact based on information submitted to the specific form we chose earlier. Next, click on the "Account " field to connect your EmailOctopus account.

7. To connect the EmailOctopus account, paste your API key. Instructions on how to create one can be found here.

8. Select the EmailOctopus list you’d like to add contacts to, then match the fields from your Wix form to the relevant fields in EmailOctopus.

Fields must be selected from the dropdown by pressing the "+" button on the right, as highlighted by the right arrow. If you type down the value manually instead, Zapier will always push that particular value to EmailOctopus instead of passing the one people provided in the form.
9. When the action is set up, it's time to test it. Press the "Test step" button.

10. If the test is successful, enable your Zap by pressing the "Publish" button. That's it – you successfully connected Wix and EmailOctopus via Zapier.
