Using NiftyImages in your EmailOctopus campaigns
NiftyImages is a tool that allows you to personalise your content. With a wide array of features, such as image personalisation, live polls, countdown timers, maps and much more, NiftyImages allows you to show customised content to each of your recipients, based on the custom field values you store on your list.
In this example, we'll show you how to create an image with your recipient's first name.
How to use NiftyImages with EmailOctopus
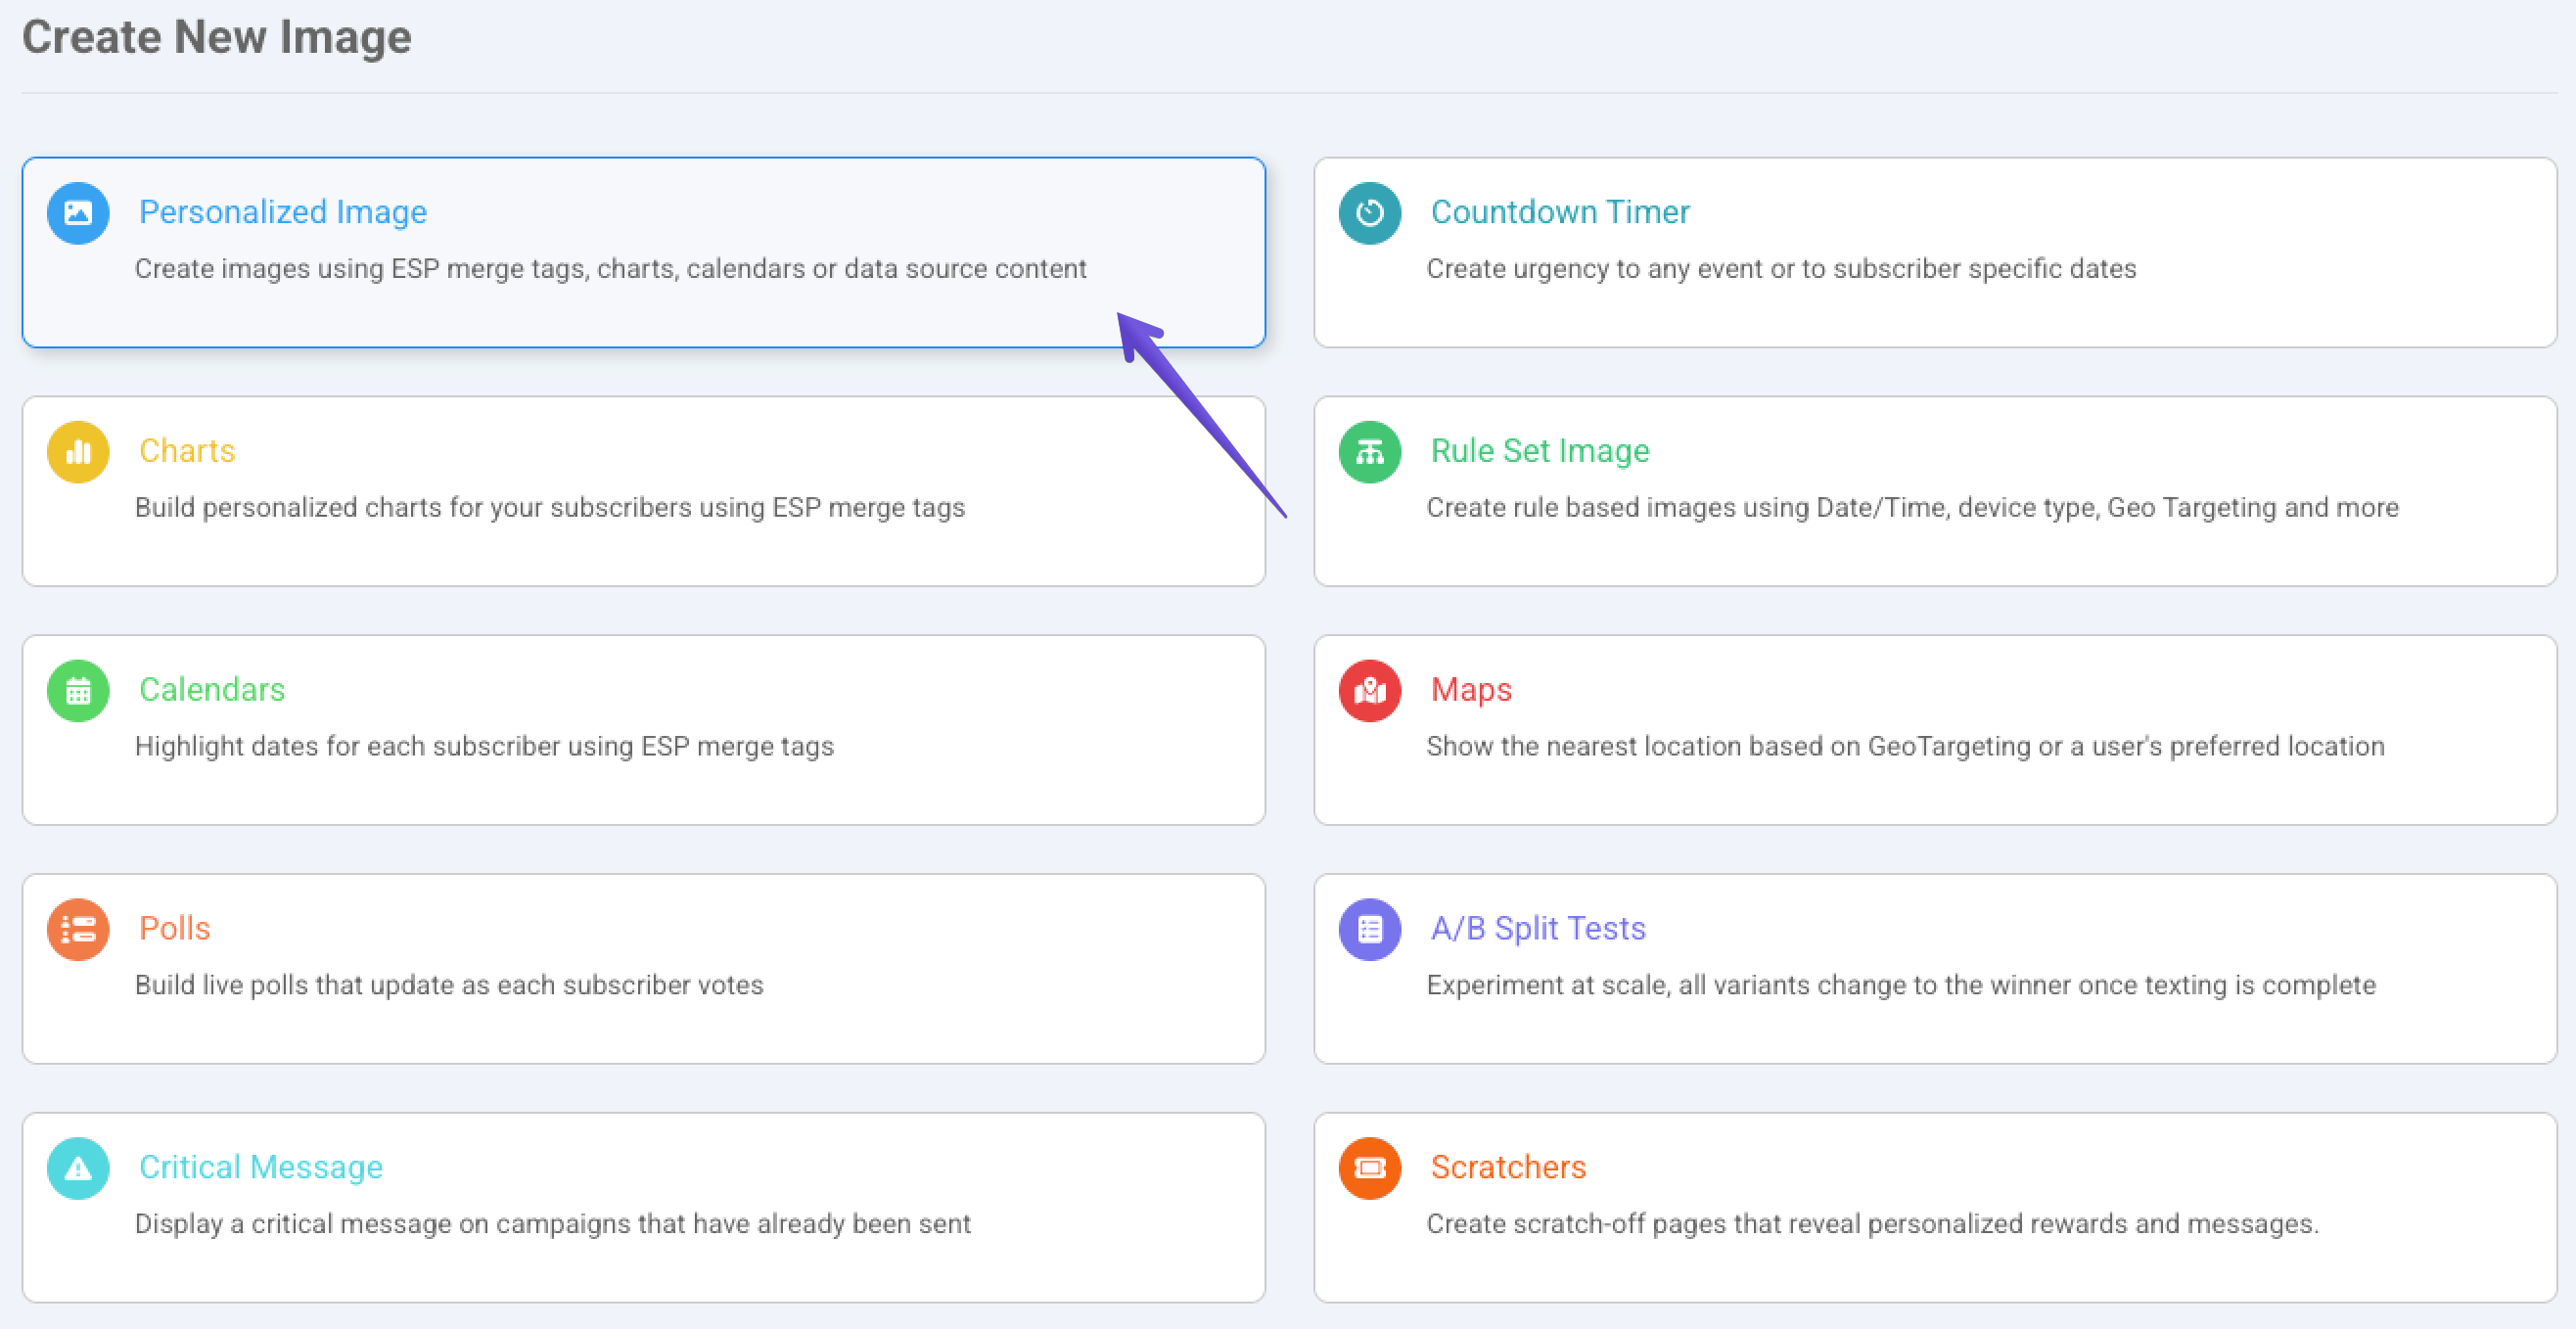
- Log in to your NiftyImages account and click New image.
-
Select one of the options – in this example, we'll choose Personalized Image.

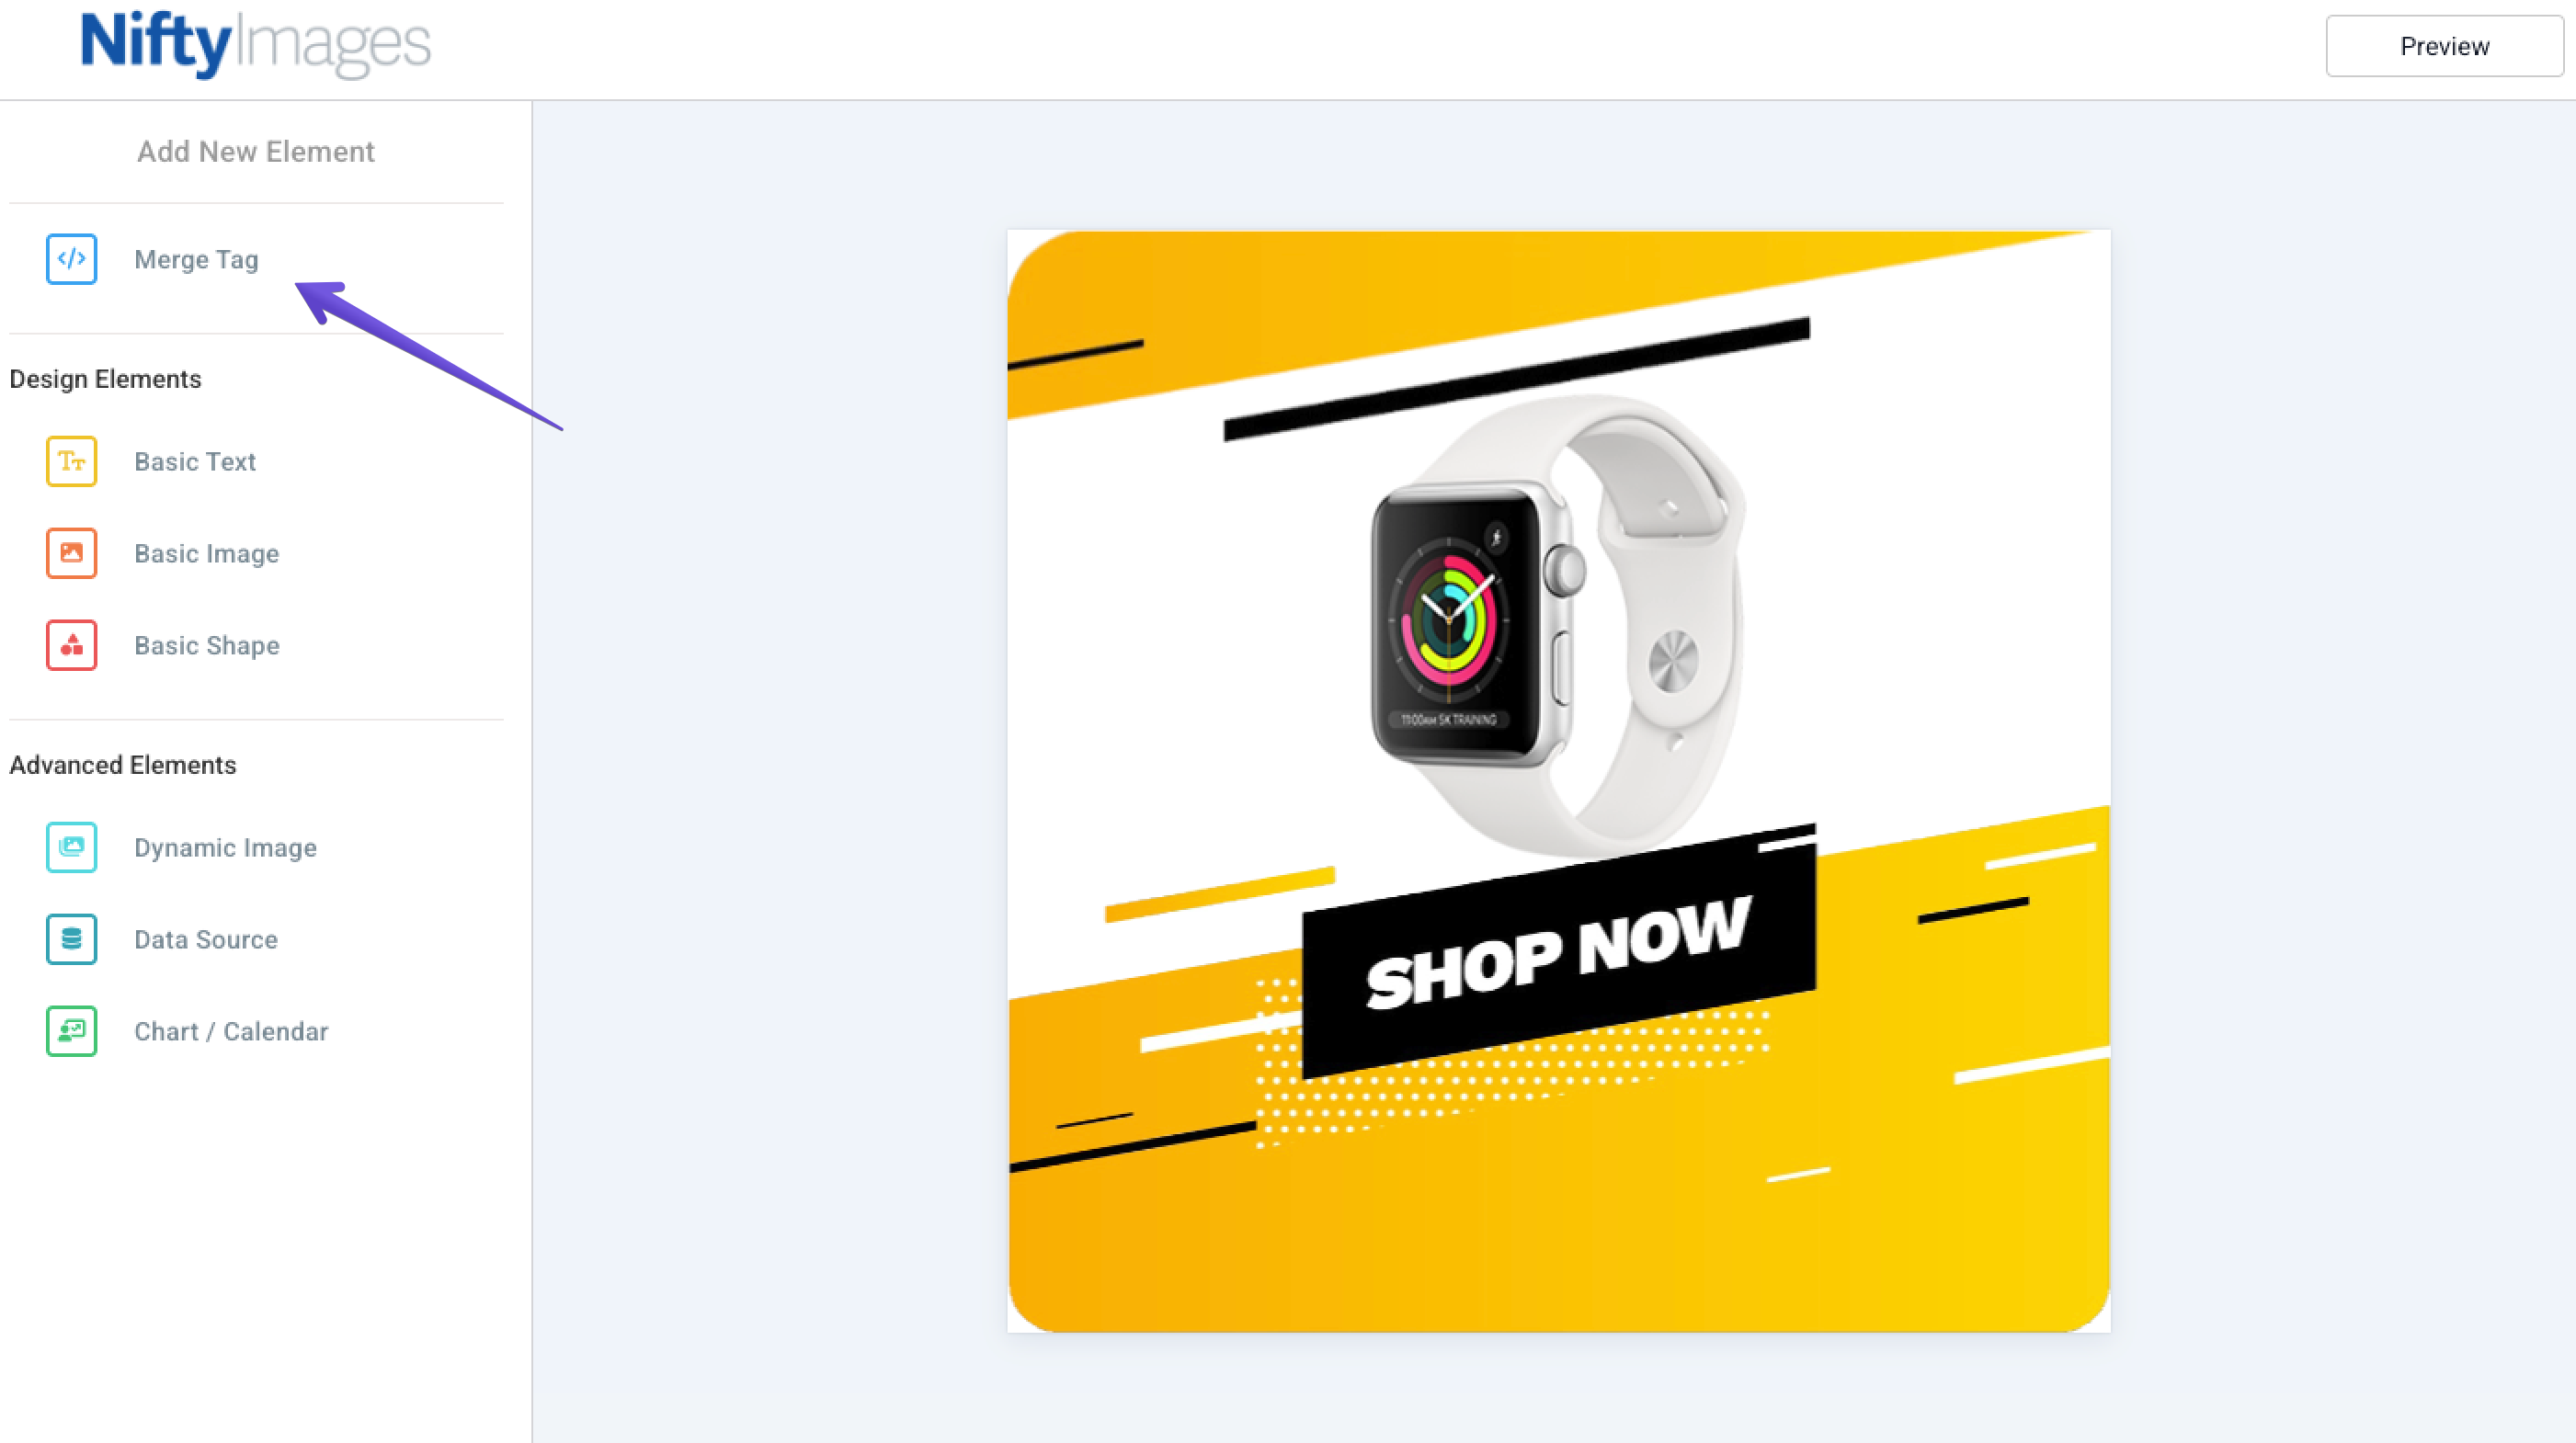
- Drag an image from your device or choose one of the ready examples.
-
Click on the Merge Tag block.

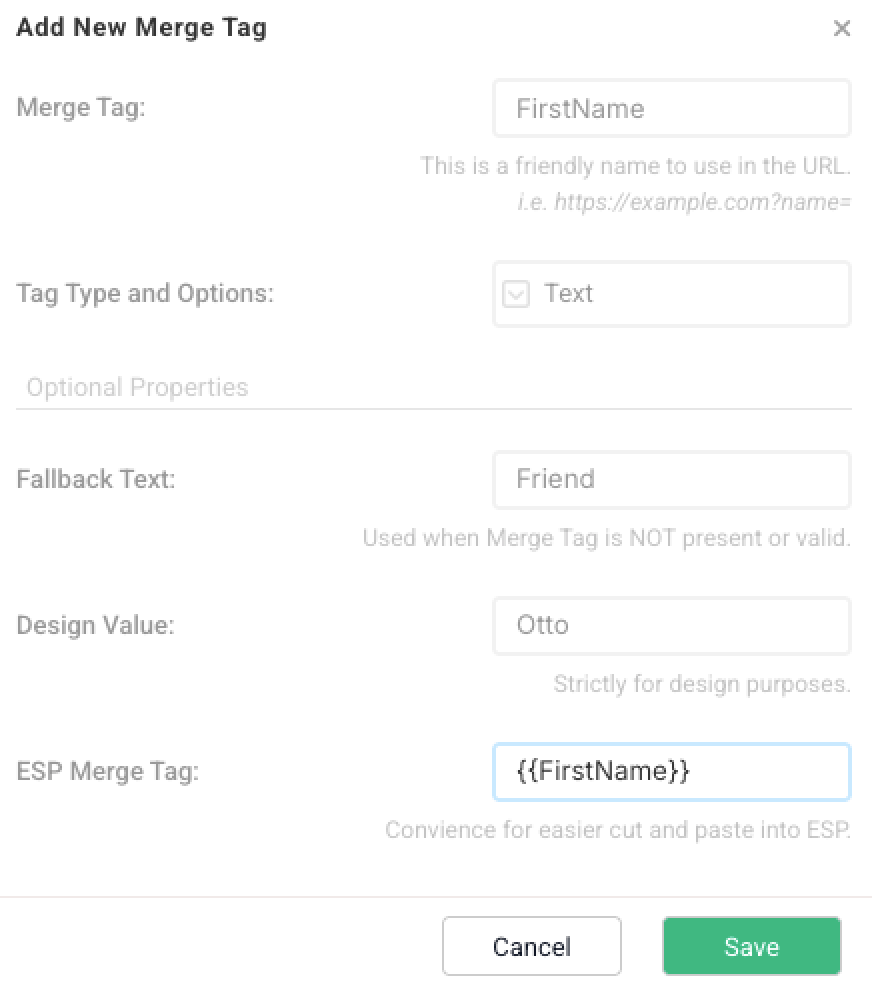
- Choose the option to add a new merge tag and fill out the first setup page with preferred values:
- The Merge Tag value will only be displayed in the URL itself.
- Fallback Text will be displayed if the contact doesn't have any value assigned in that custom field.
- Design Value is the text you'll see in NiftyImages to illustrate what a ready image looks like.
-
ESP merge tag should correspond with a merge tag for the field you want to use in EmailOctopus
Click "Save" when you're done.
-
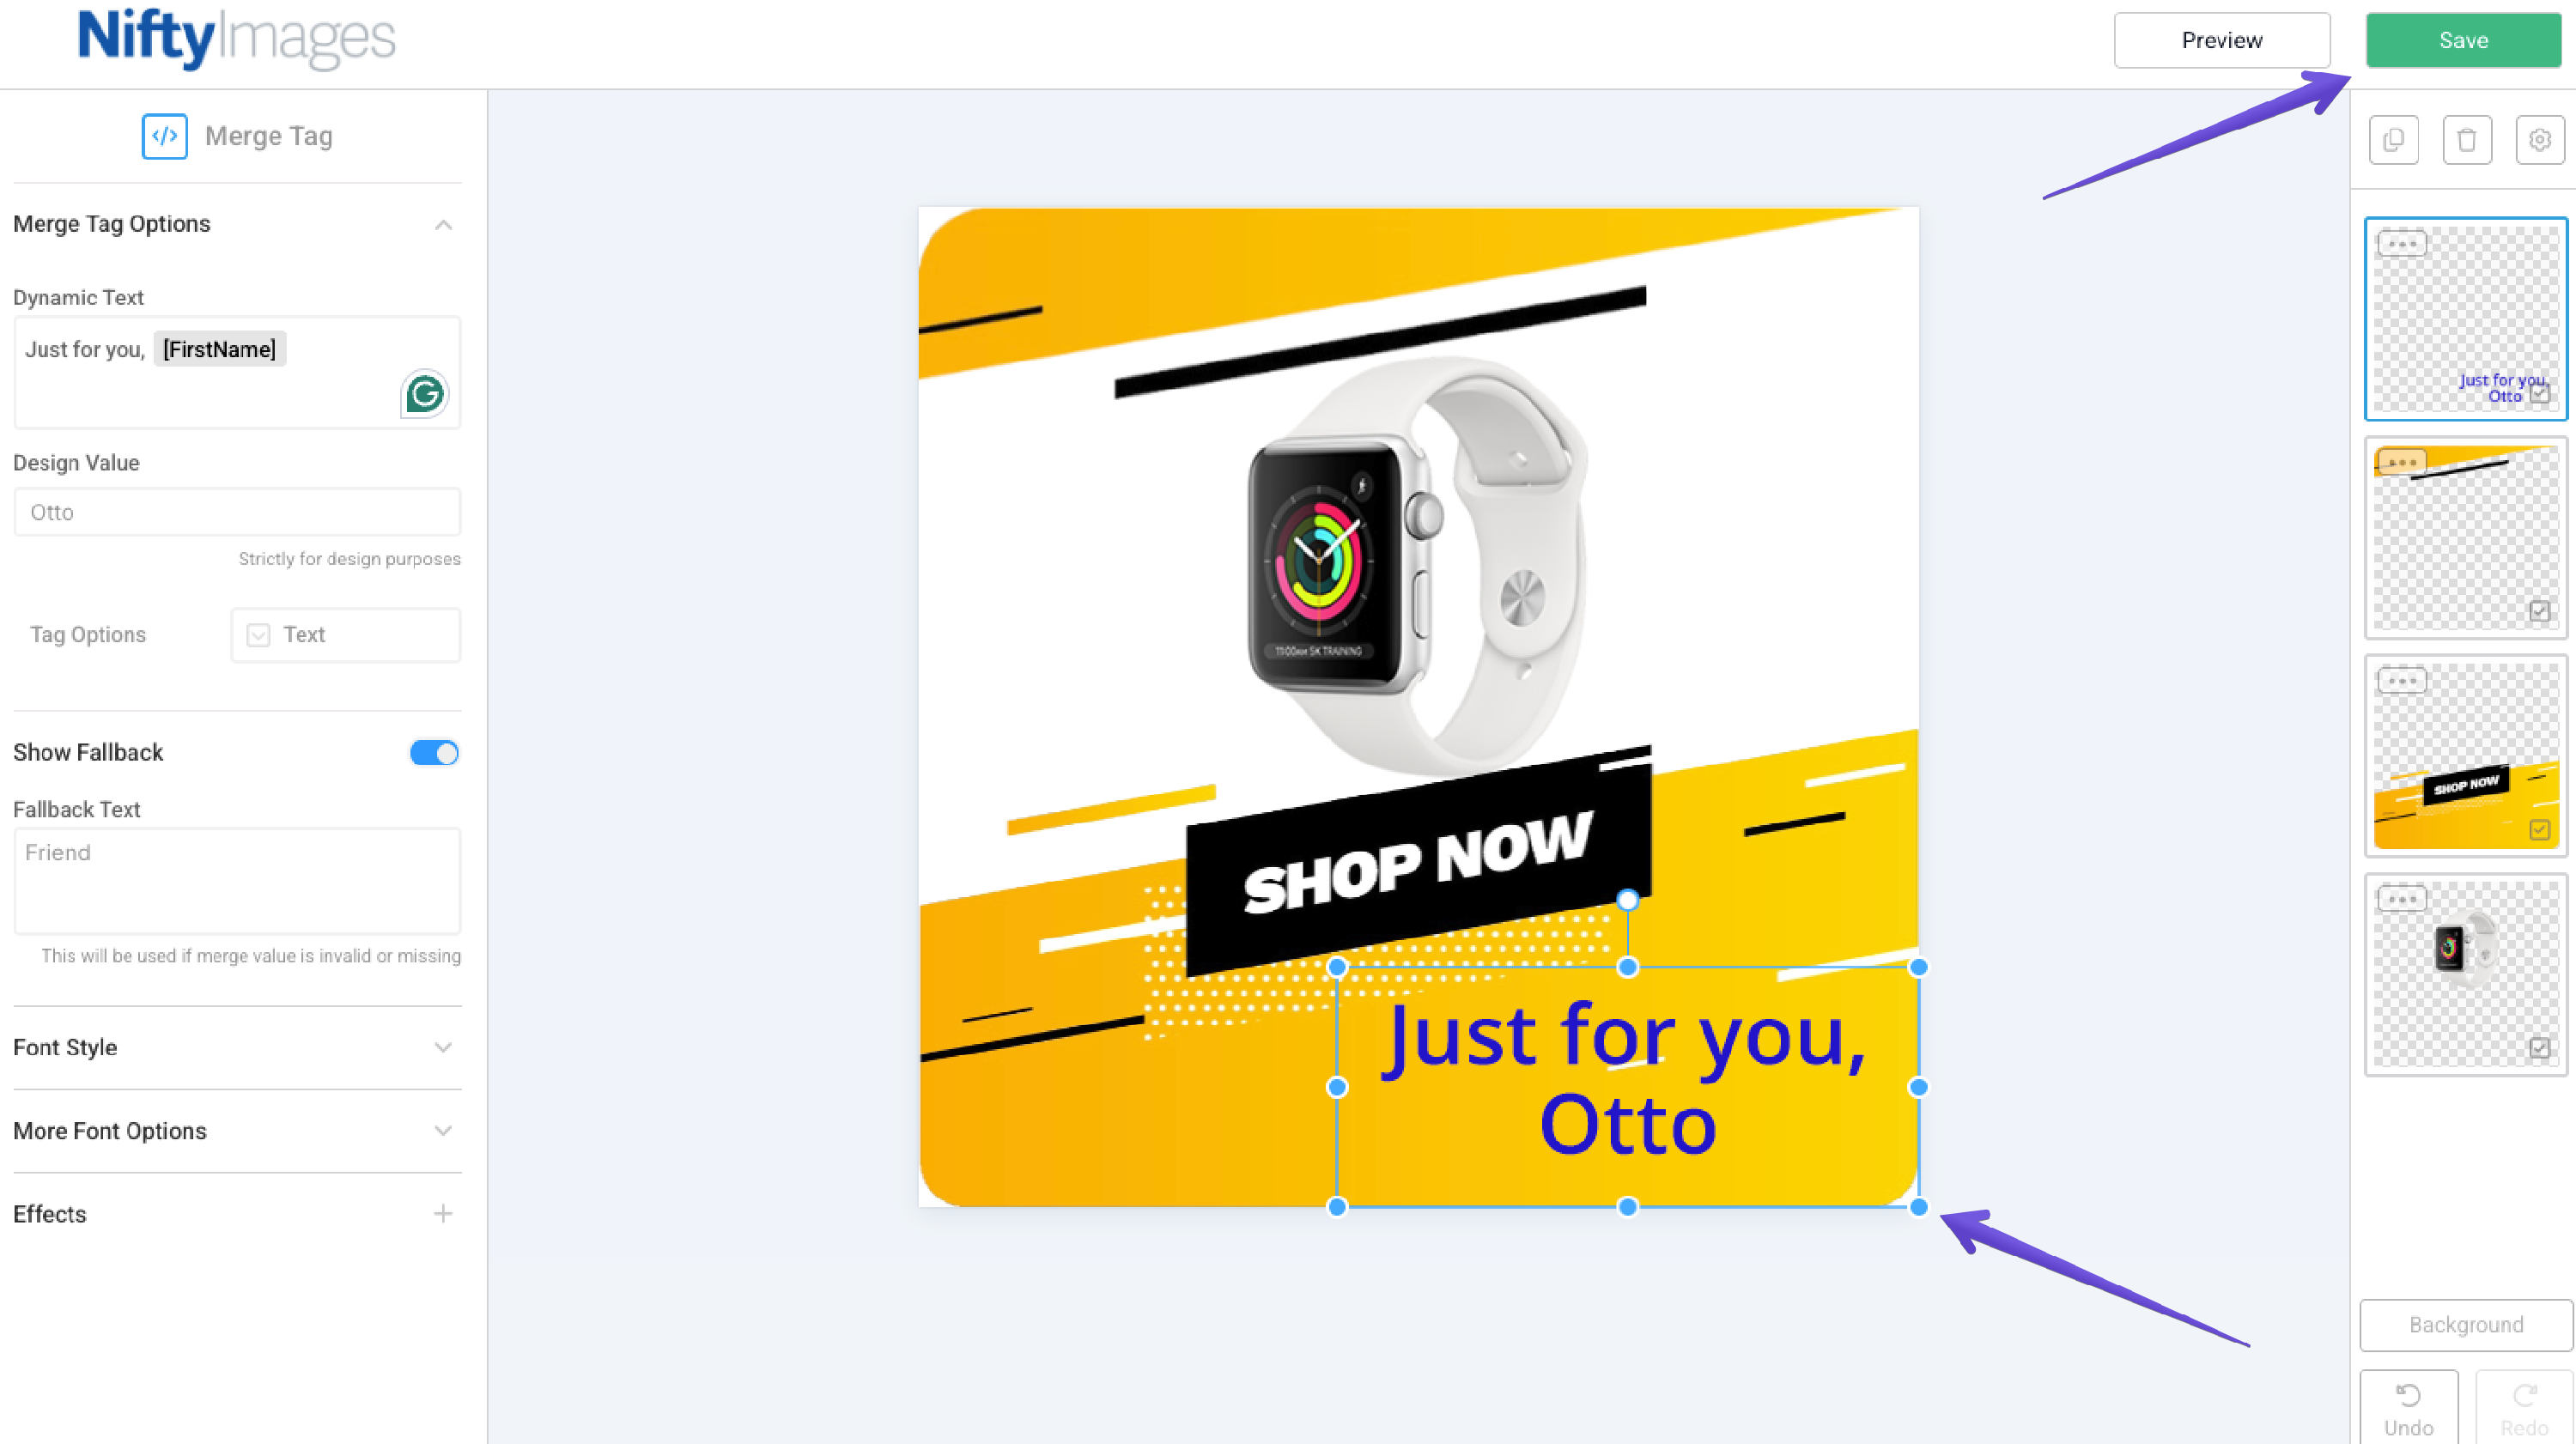
Place the merge tag block where you want it to be displayed on the image. You can change the font settings in the left side panel and the layer settings by clicking on the three dots on each layer on the right side. Once you're ready, click Save and name your image.

-
Copy the HTML code with the image URL.


-
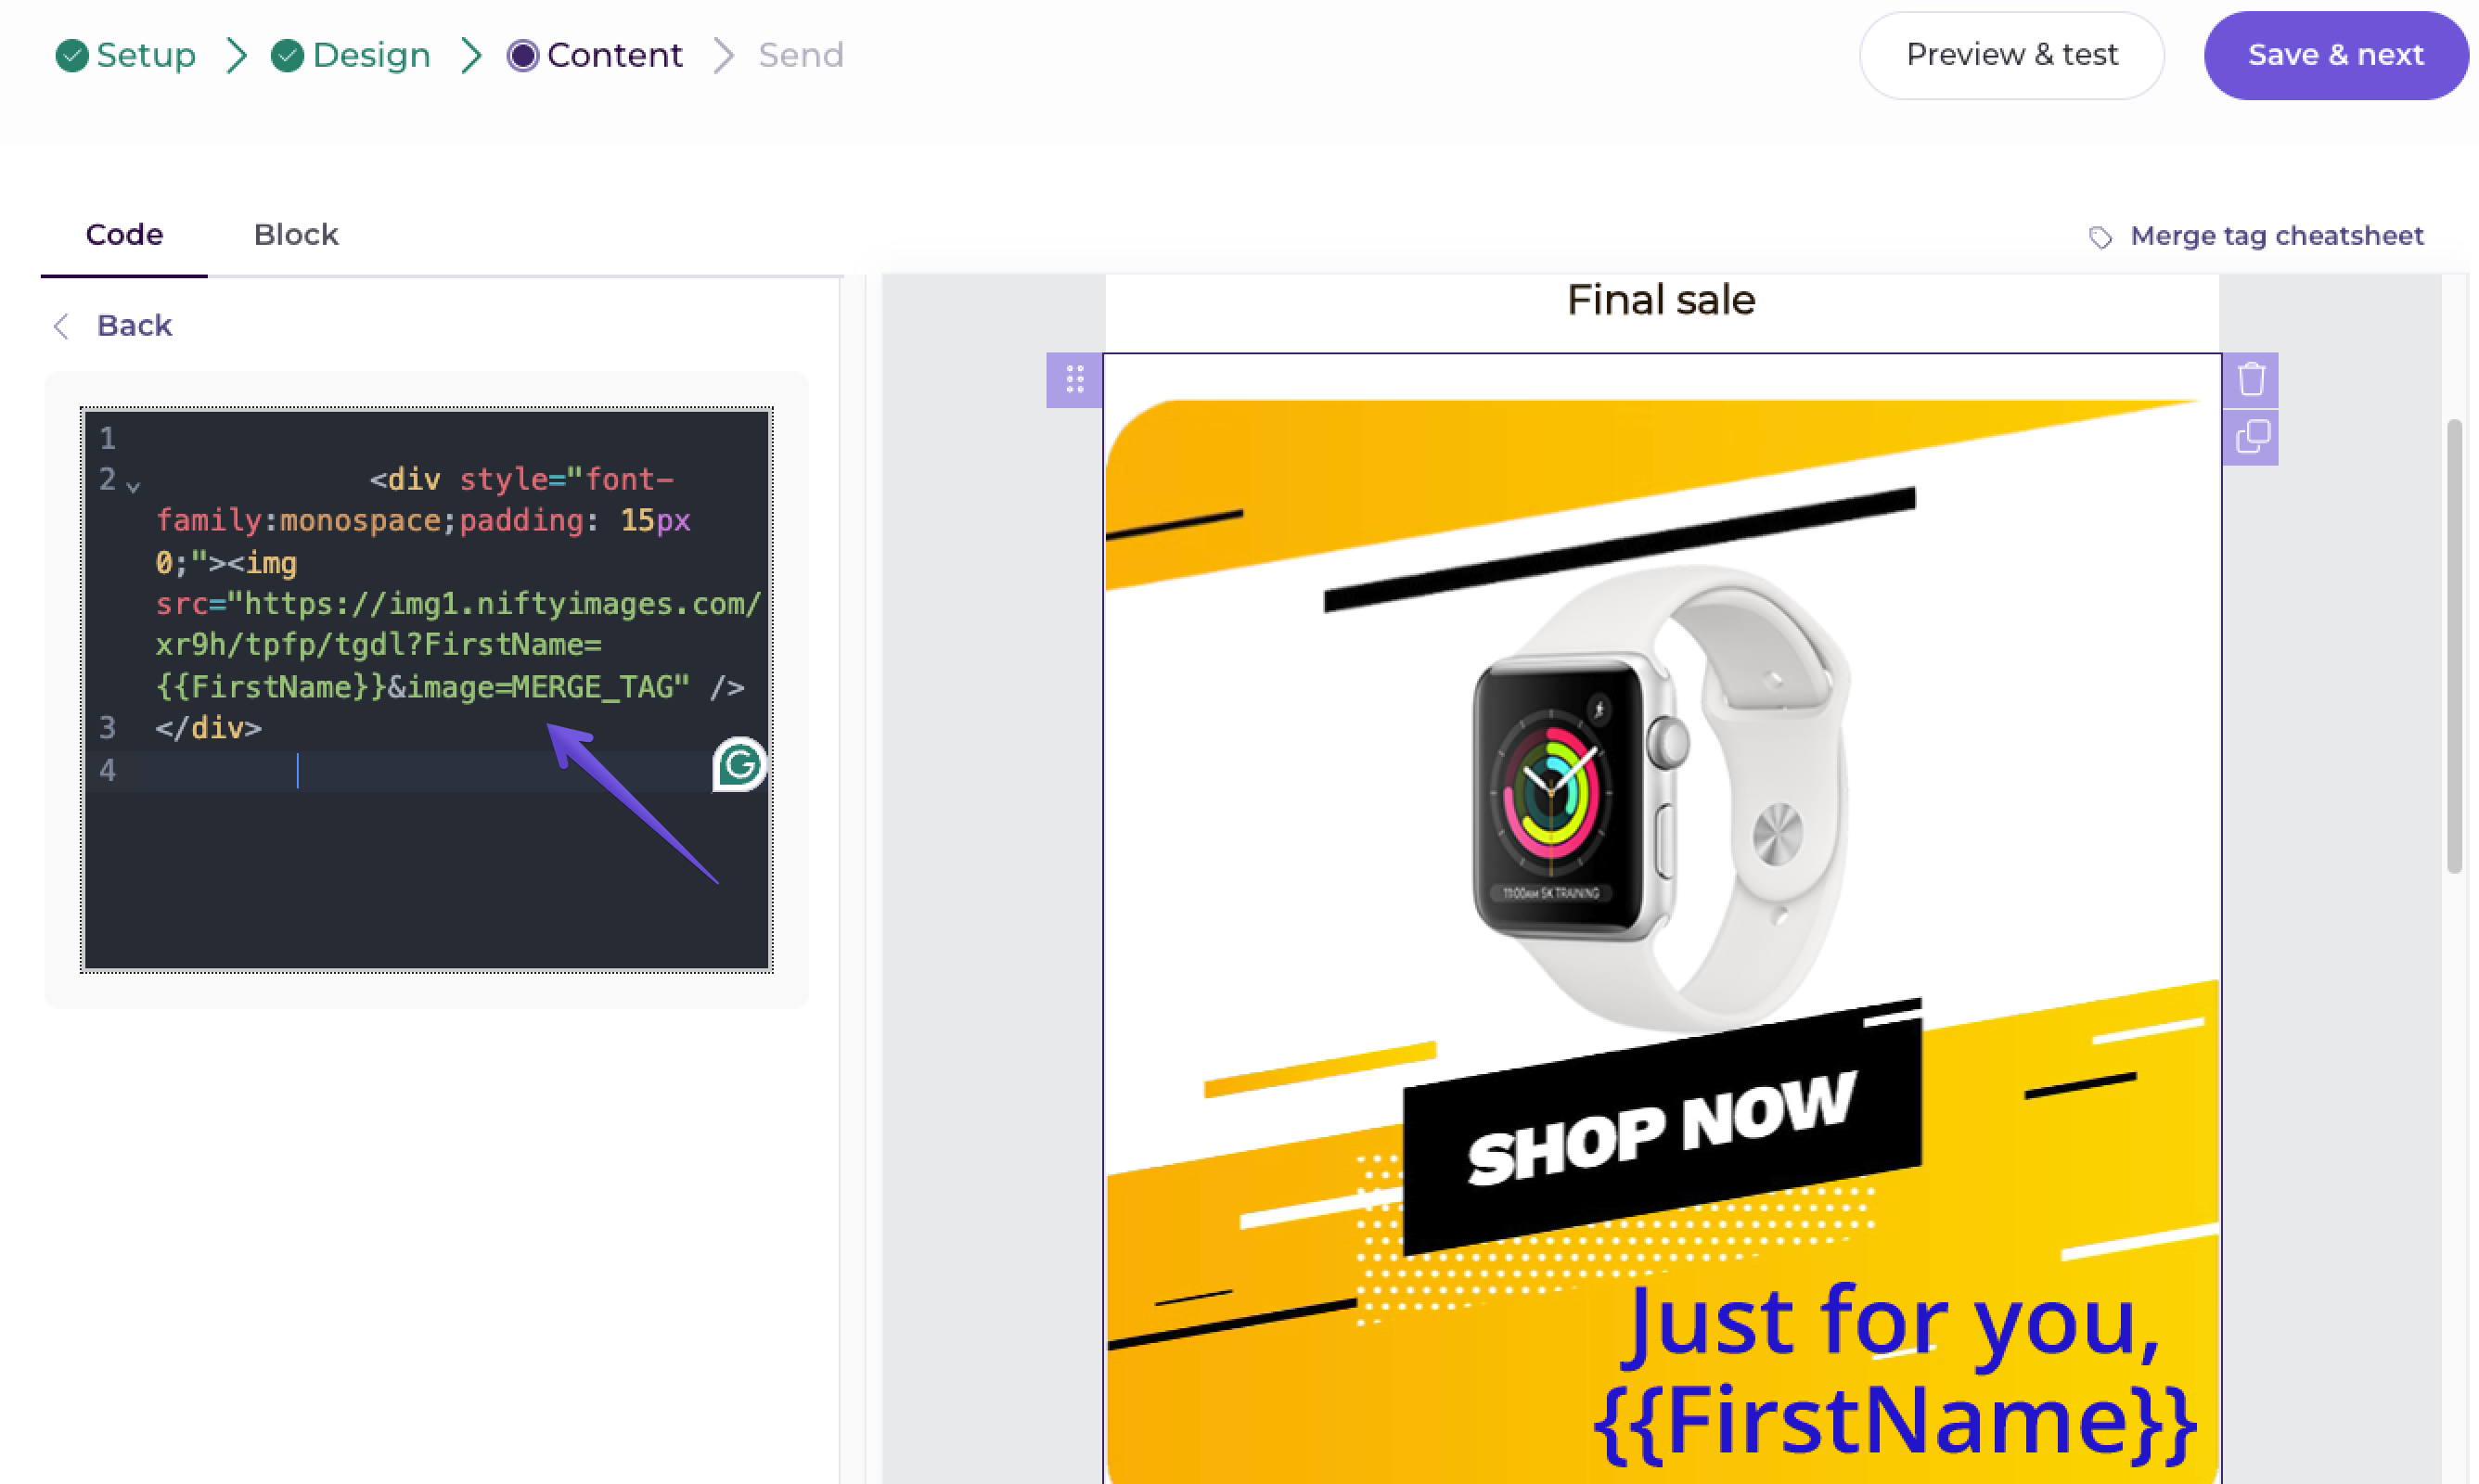
Go to your EmailOctopus account and create a campaign. In the content step, add a Code block and paste the whole NiftyImages HTML code you've just copied.

-
Go to Preview & test to test what it will look like for a few of your subscribers.
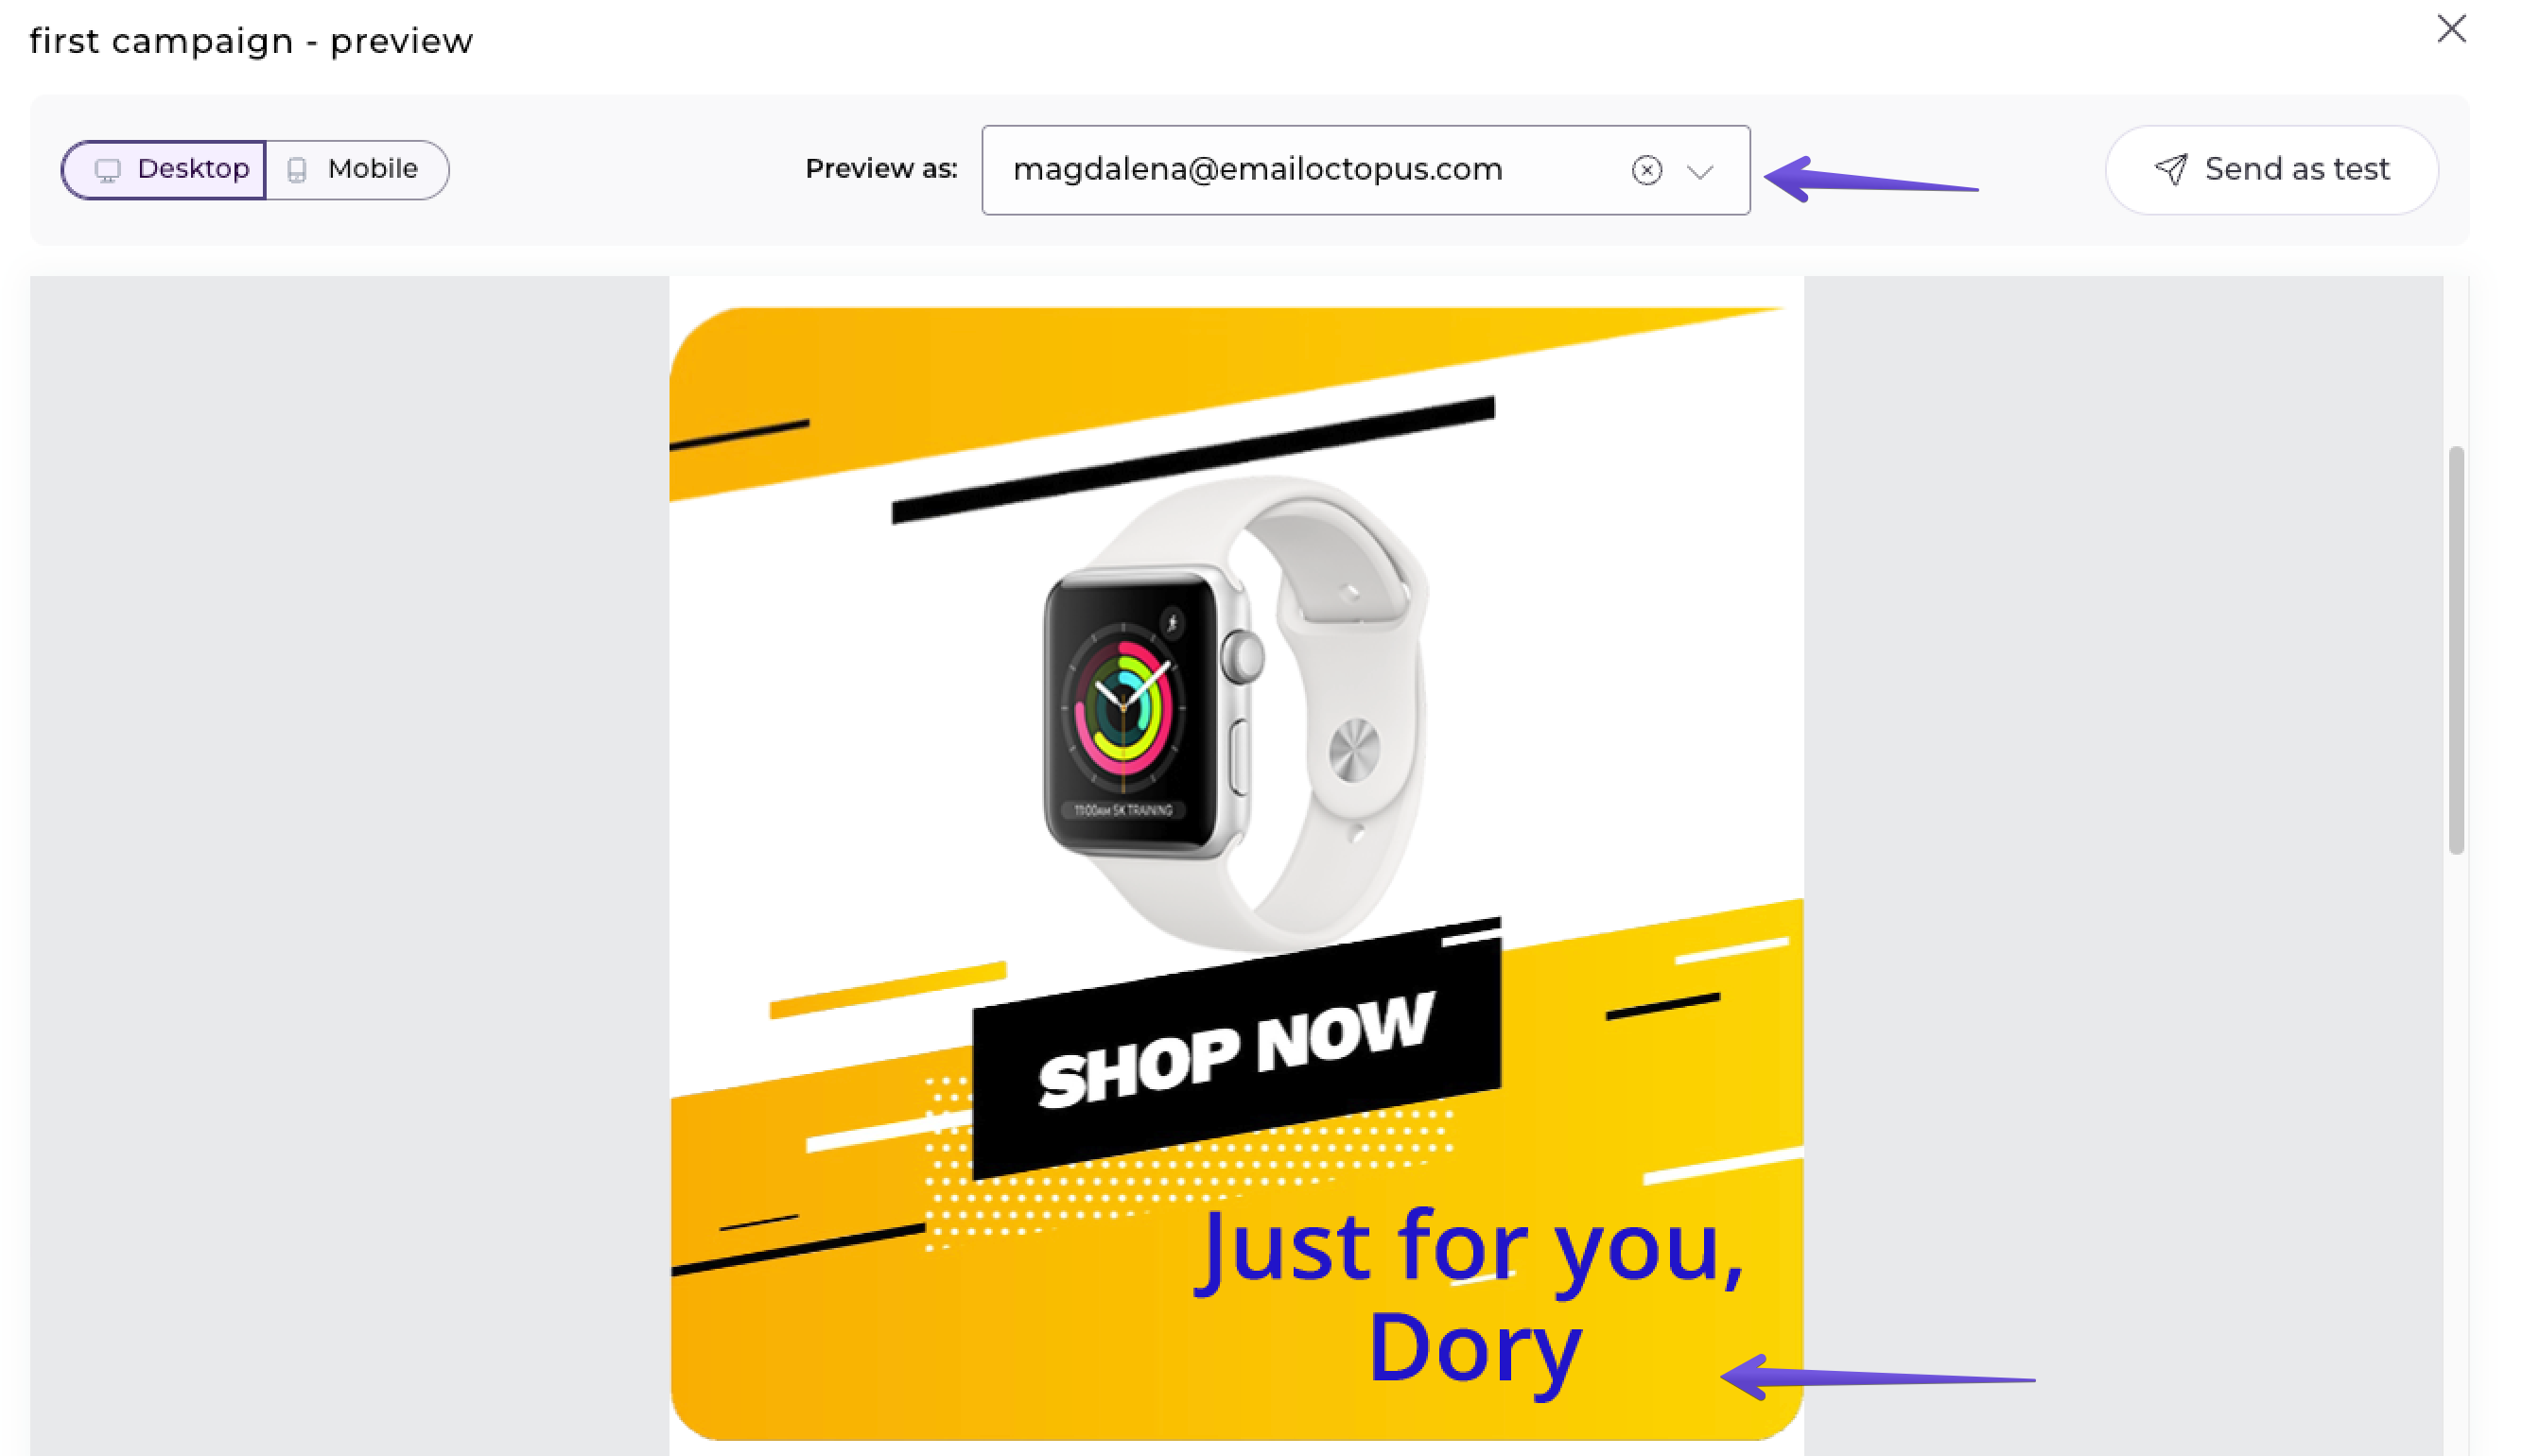
- That's it – your personalised image is ready!
