How to create an automated welcome email
You can also create a welcome automation using our dedicated 'Simple welcome' automation template. Learn how to use automation templates in this article.
To create an automated welcome email, go to "Automations" and click "Create".

This will take you to the "Choose a starting point" screen. Let's select the "Start from scratch" option and you'll see a "Setup" screen, where you'll need to choose the name for your Automation and a list it will be connected to.
If you only have one list, your automation will be connected to this list automatically.

You can change the list connected to your automation only when it's in a draft stage. Once you've started (activated) your automation, you won't be able to change the list connected to it, so make sure that you select the correct list.
Below, you can decide whether to allow contacts to repeat the automation.
In the case of welcome emails, it's not a good solution – this is because you'd usually choose "contact added" as a trigger, and this trigger doesn't support repeating the automation. If you'd like contacts to be able to receive your automation multiple times, choose a different trigger in the next step. You can learn more about this option here: Repeating an automation.

Finally, you can select some additional settings related to email tracking. We recommend keeping the Open and Click tracking enabled to get an idea of your emails' performance.

Once done, click "Next".
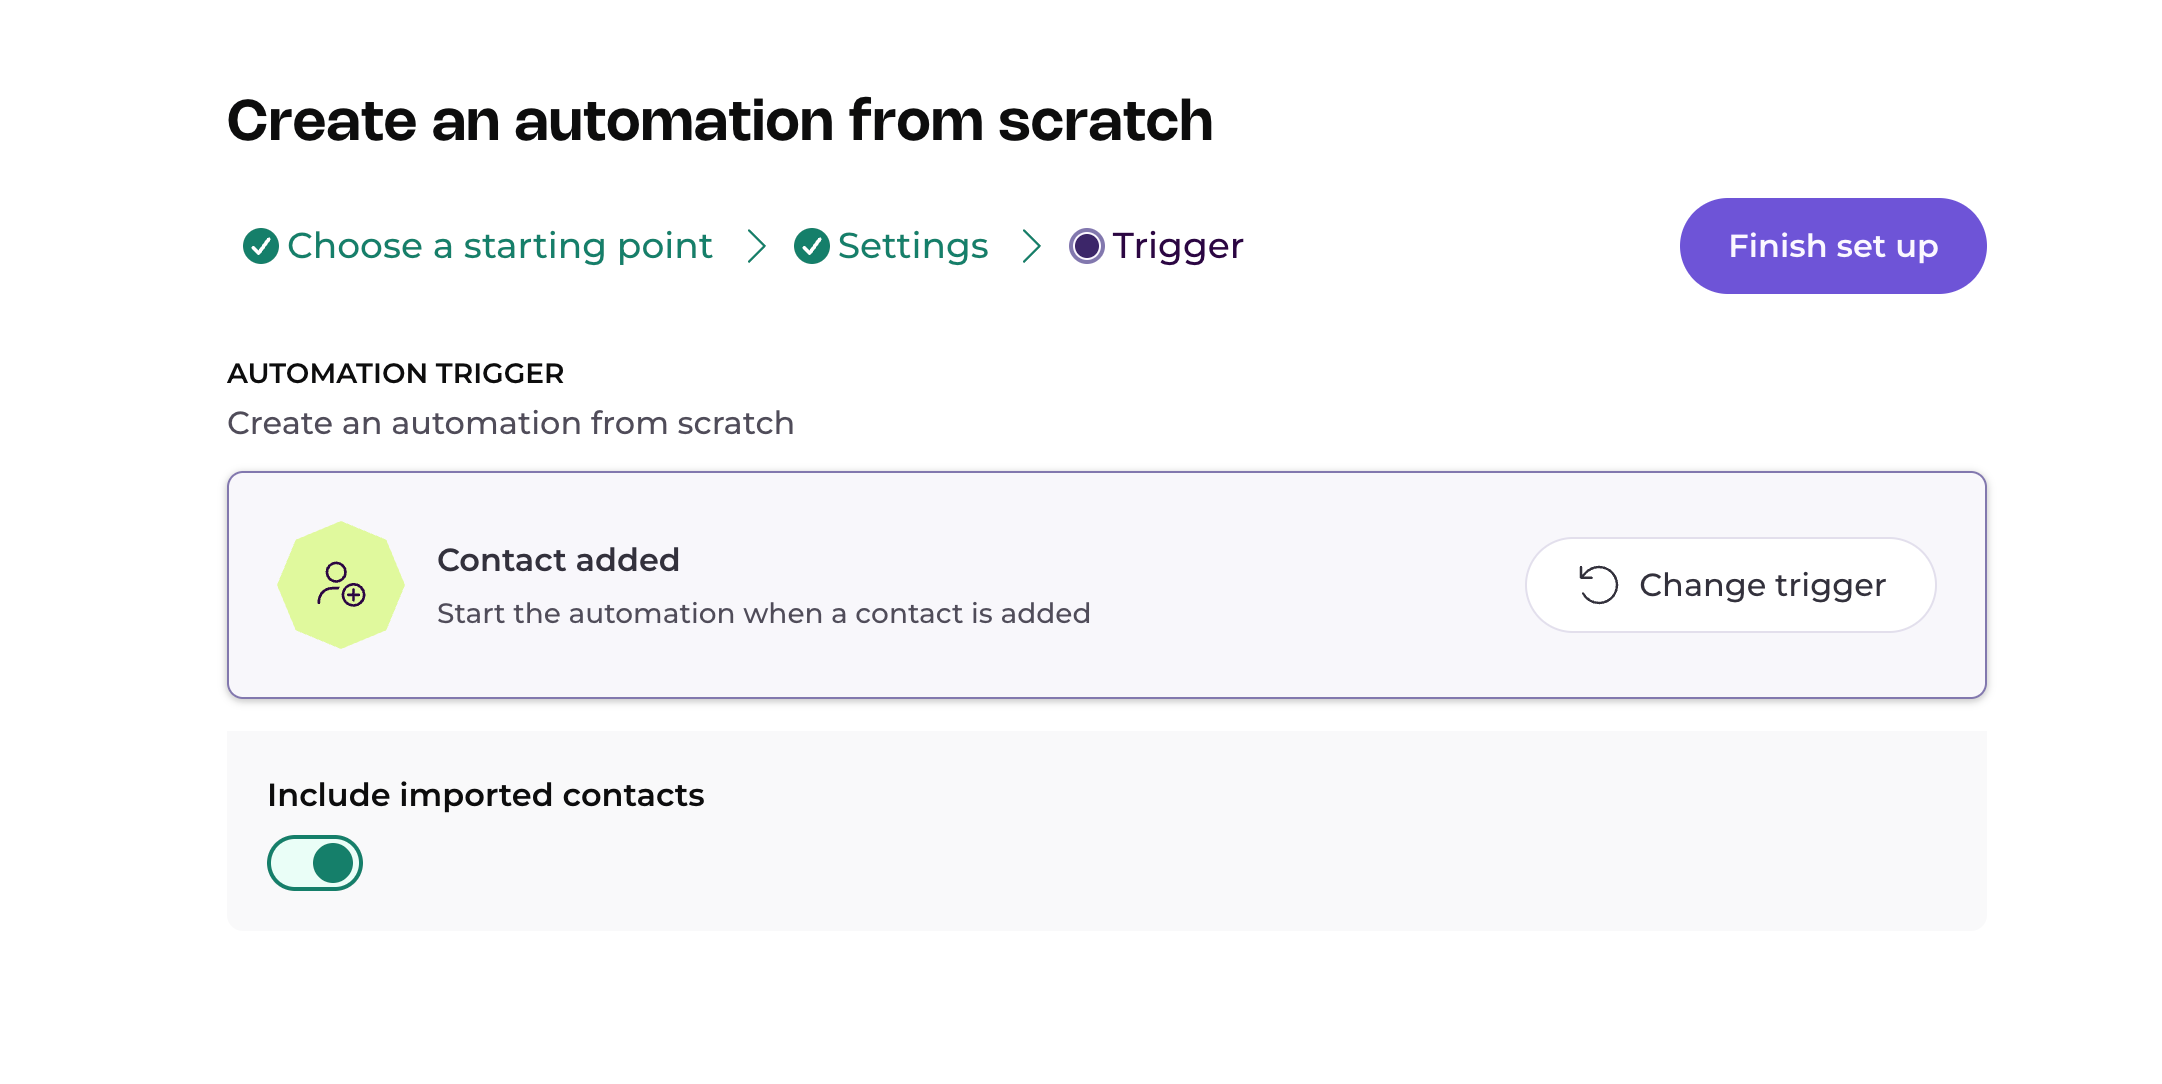
Select "Contact added" as a trigger and choose whether you want imported contacts to be added to this automation. Click "Finish set up".
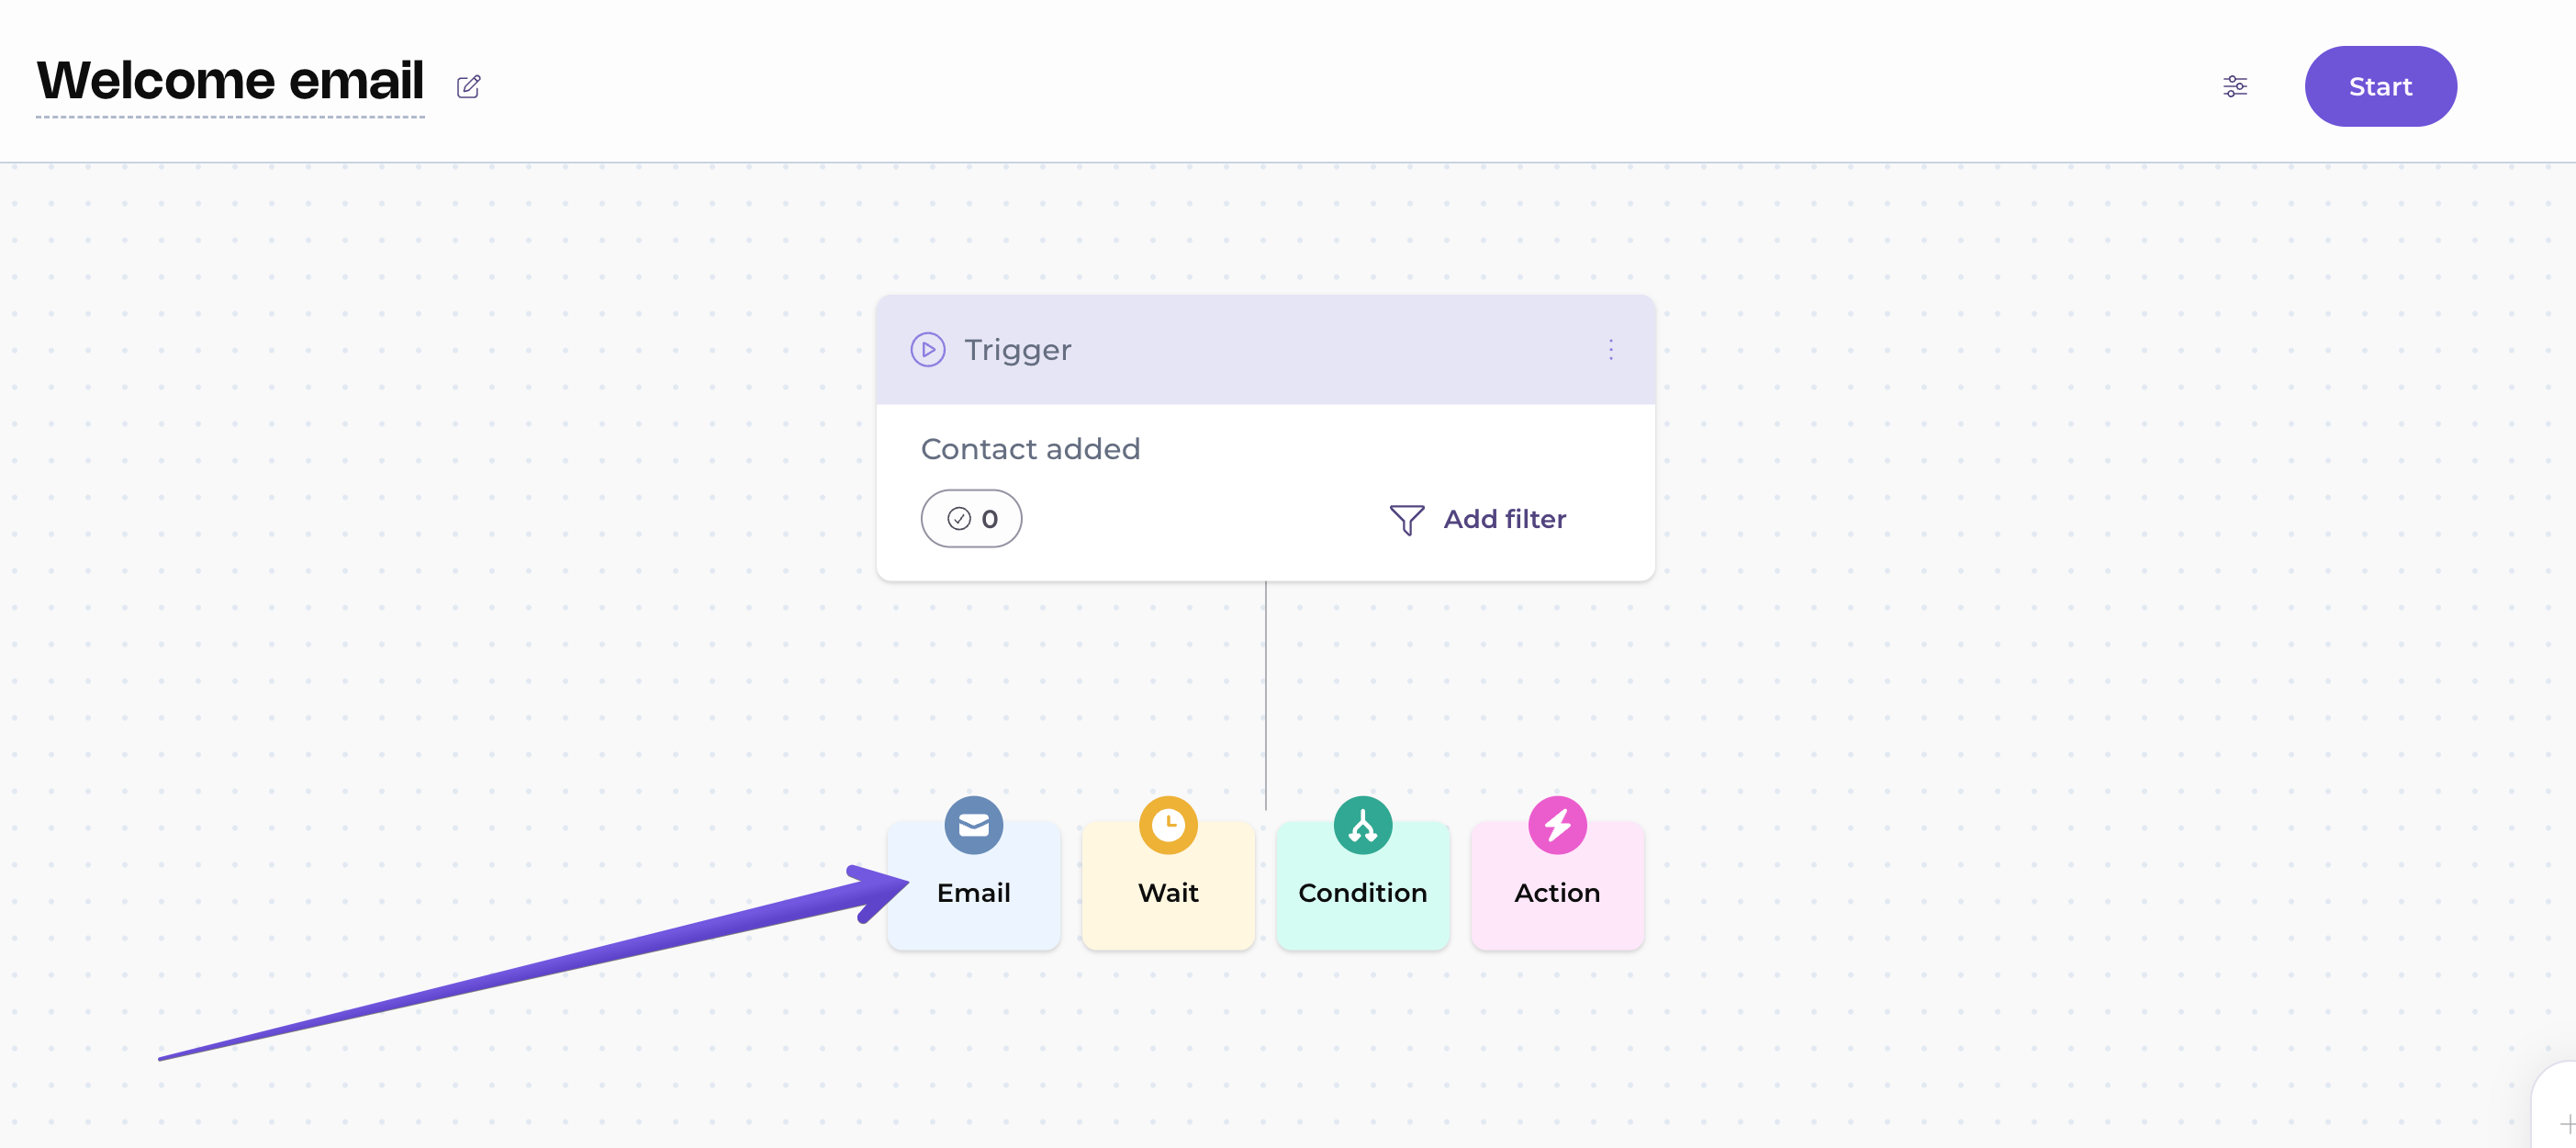
Click on the "+" button to choose the next step. Select "Email" to add that action to your automation.
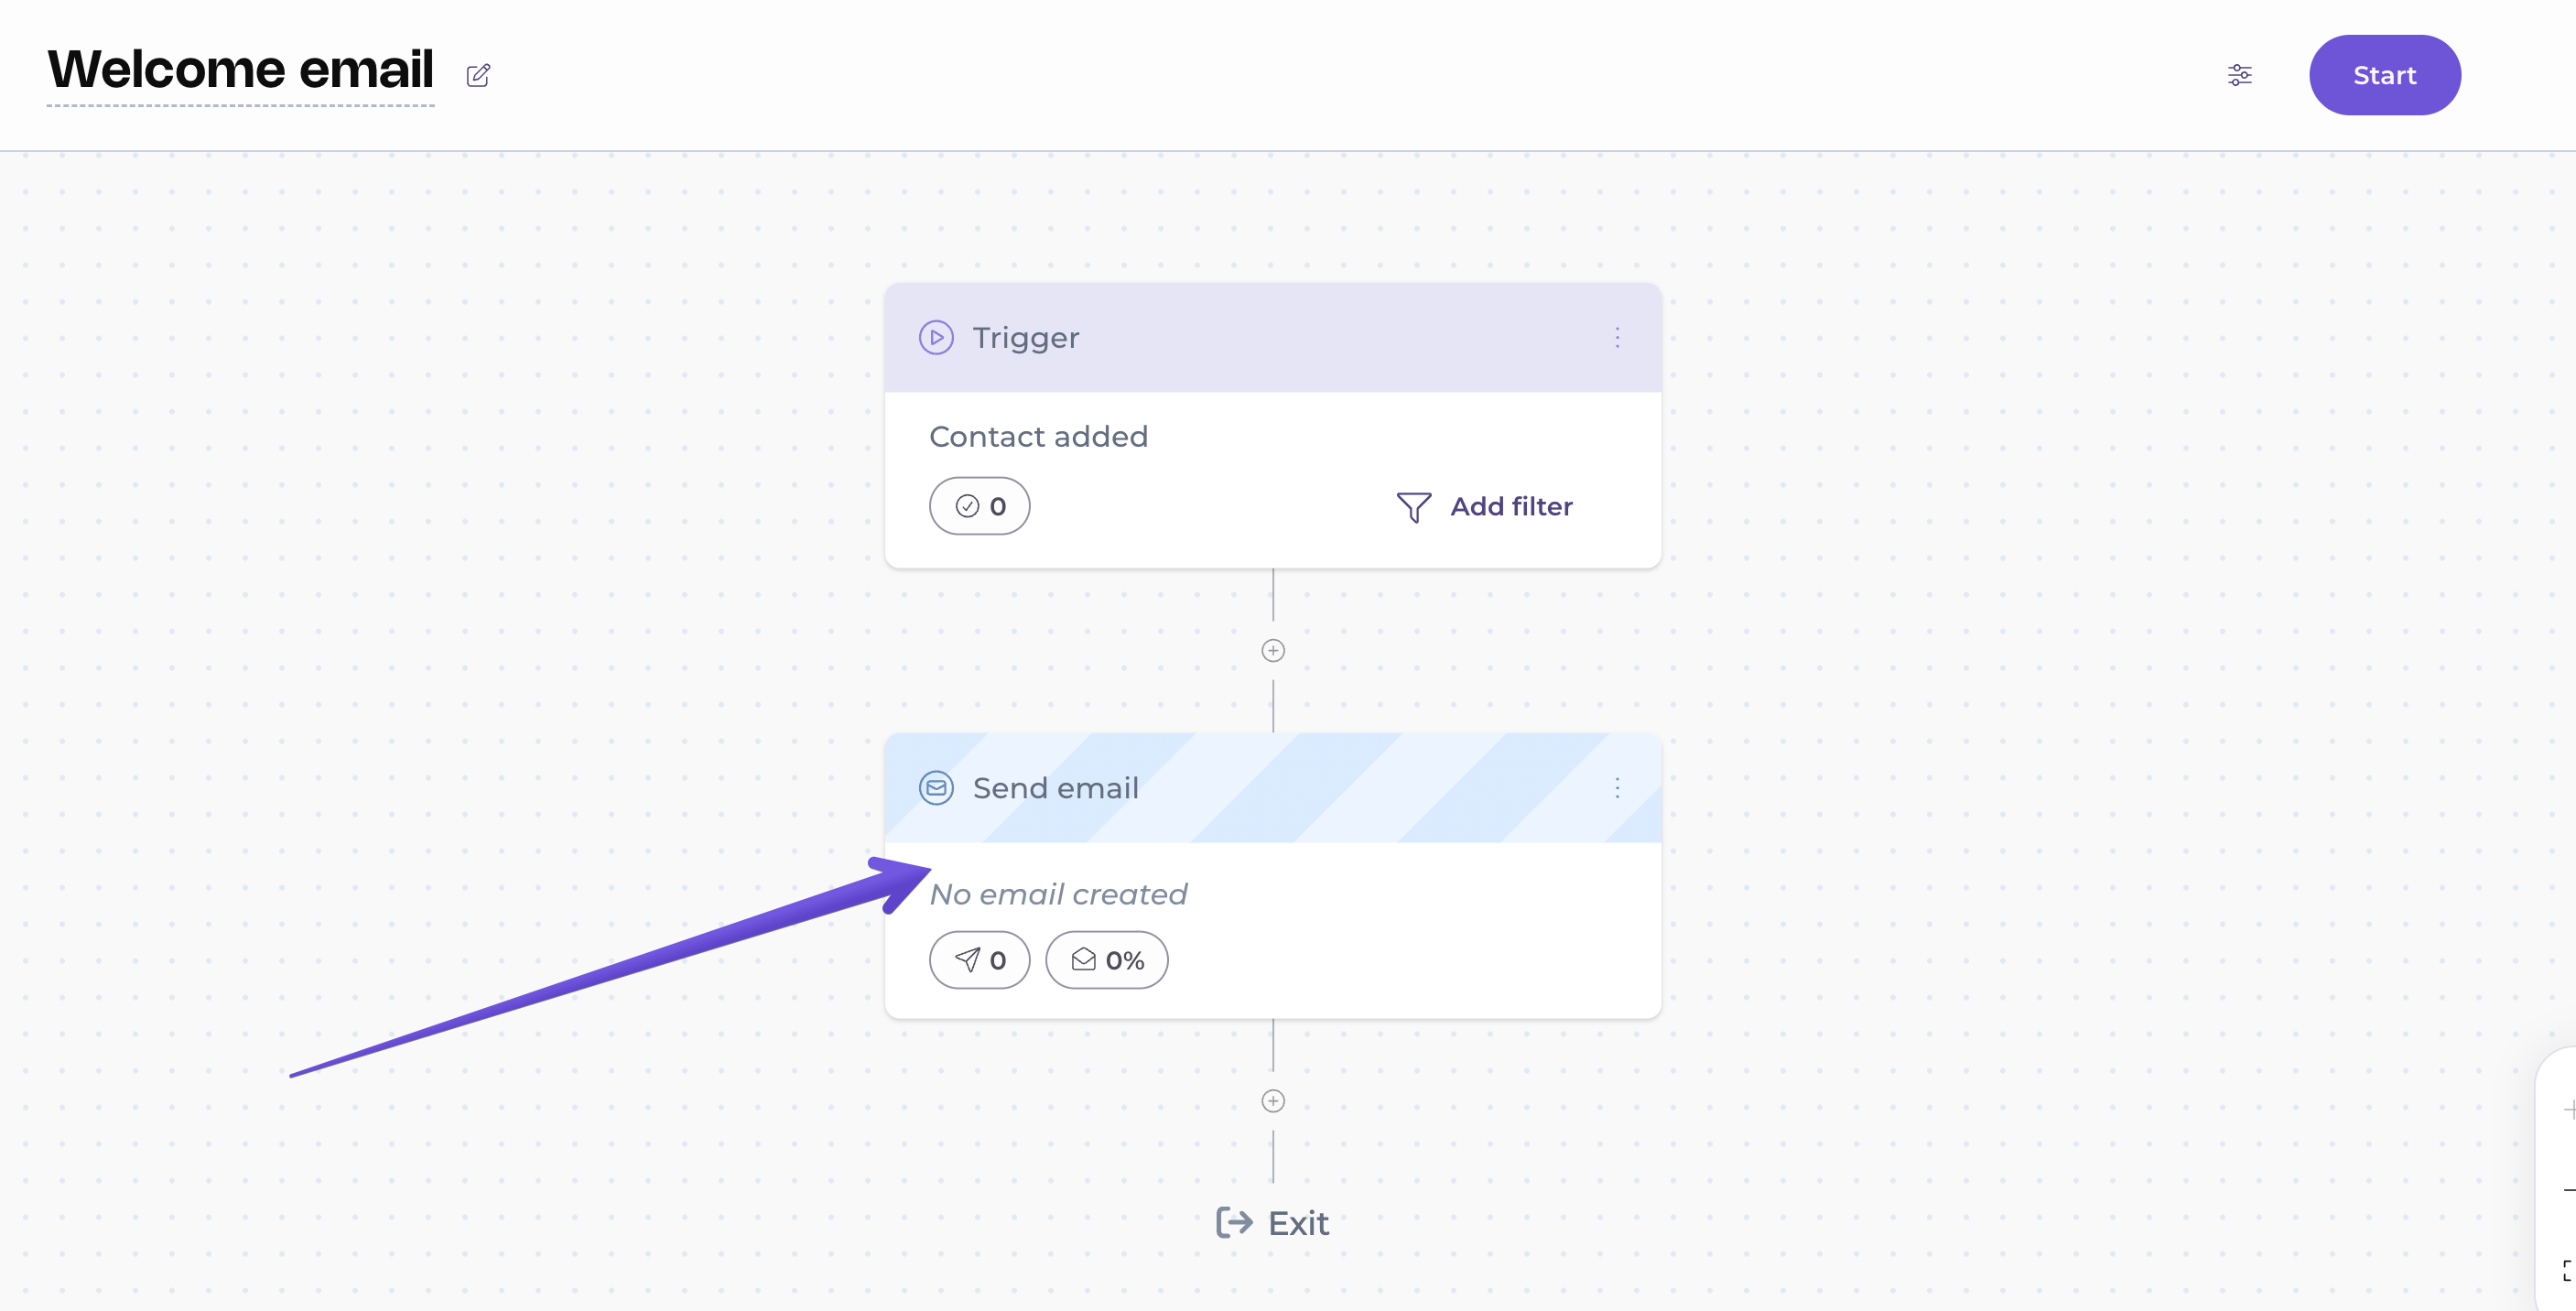
Click on the "Send email" block to create your welcome email.
You'll see the "Setup" screen for your email. Here, you type your email name (subscribers won't see it, it's for your reference), sending from email address and name, subject line and preview text if you wish to use it. When you're done, click "Save & next" to choose the template you wish to use in your email on the next page.

Selecting your template will take you to the email editor screen. When you're done designing your email, click "Save & close".

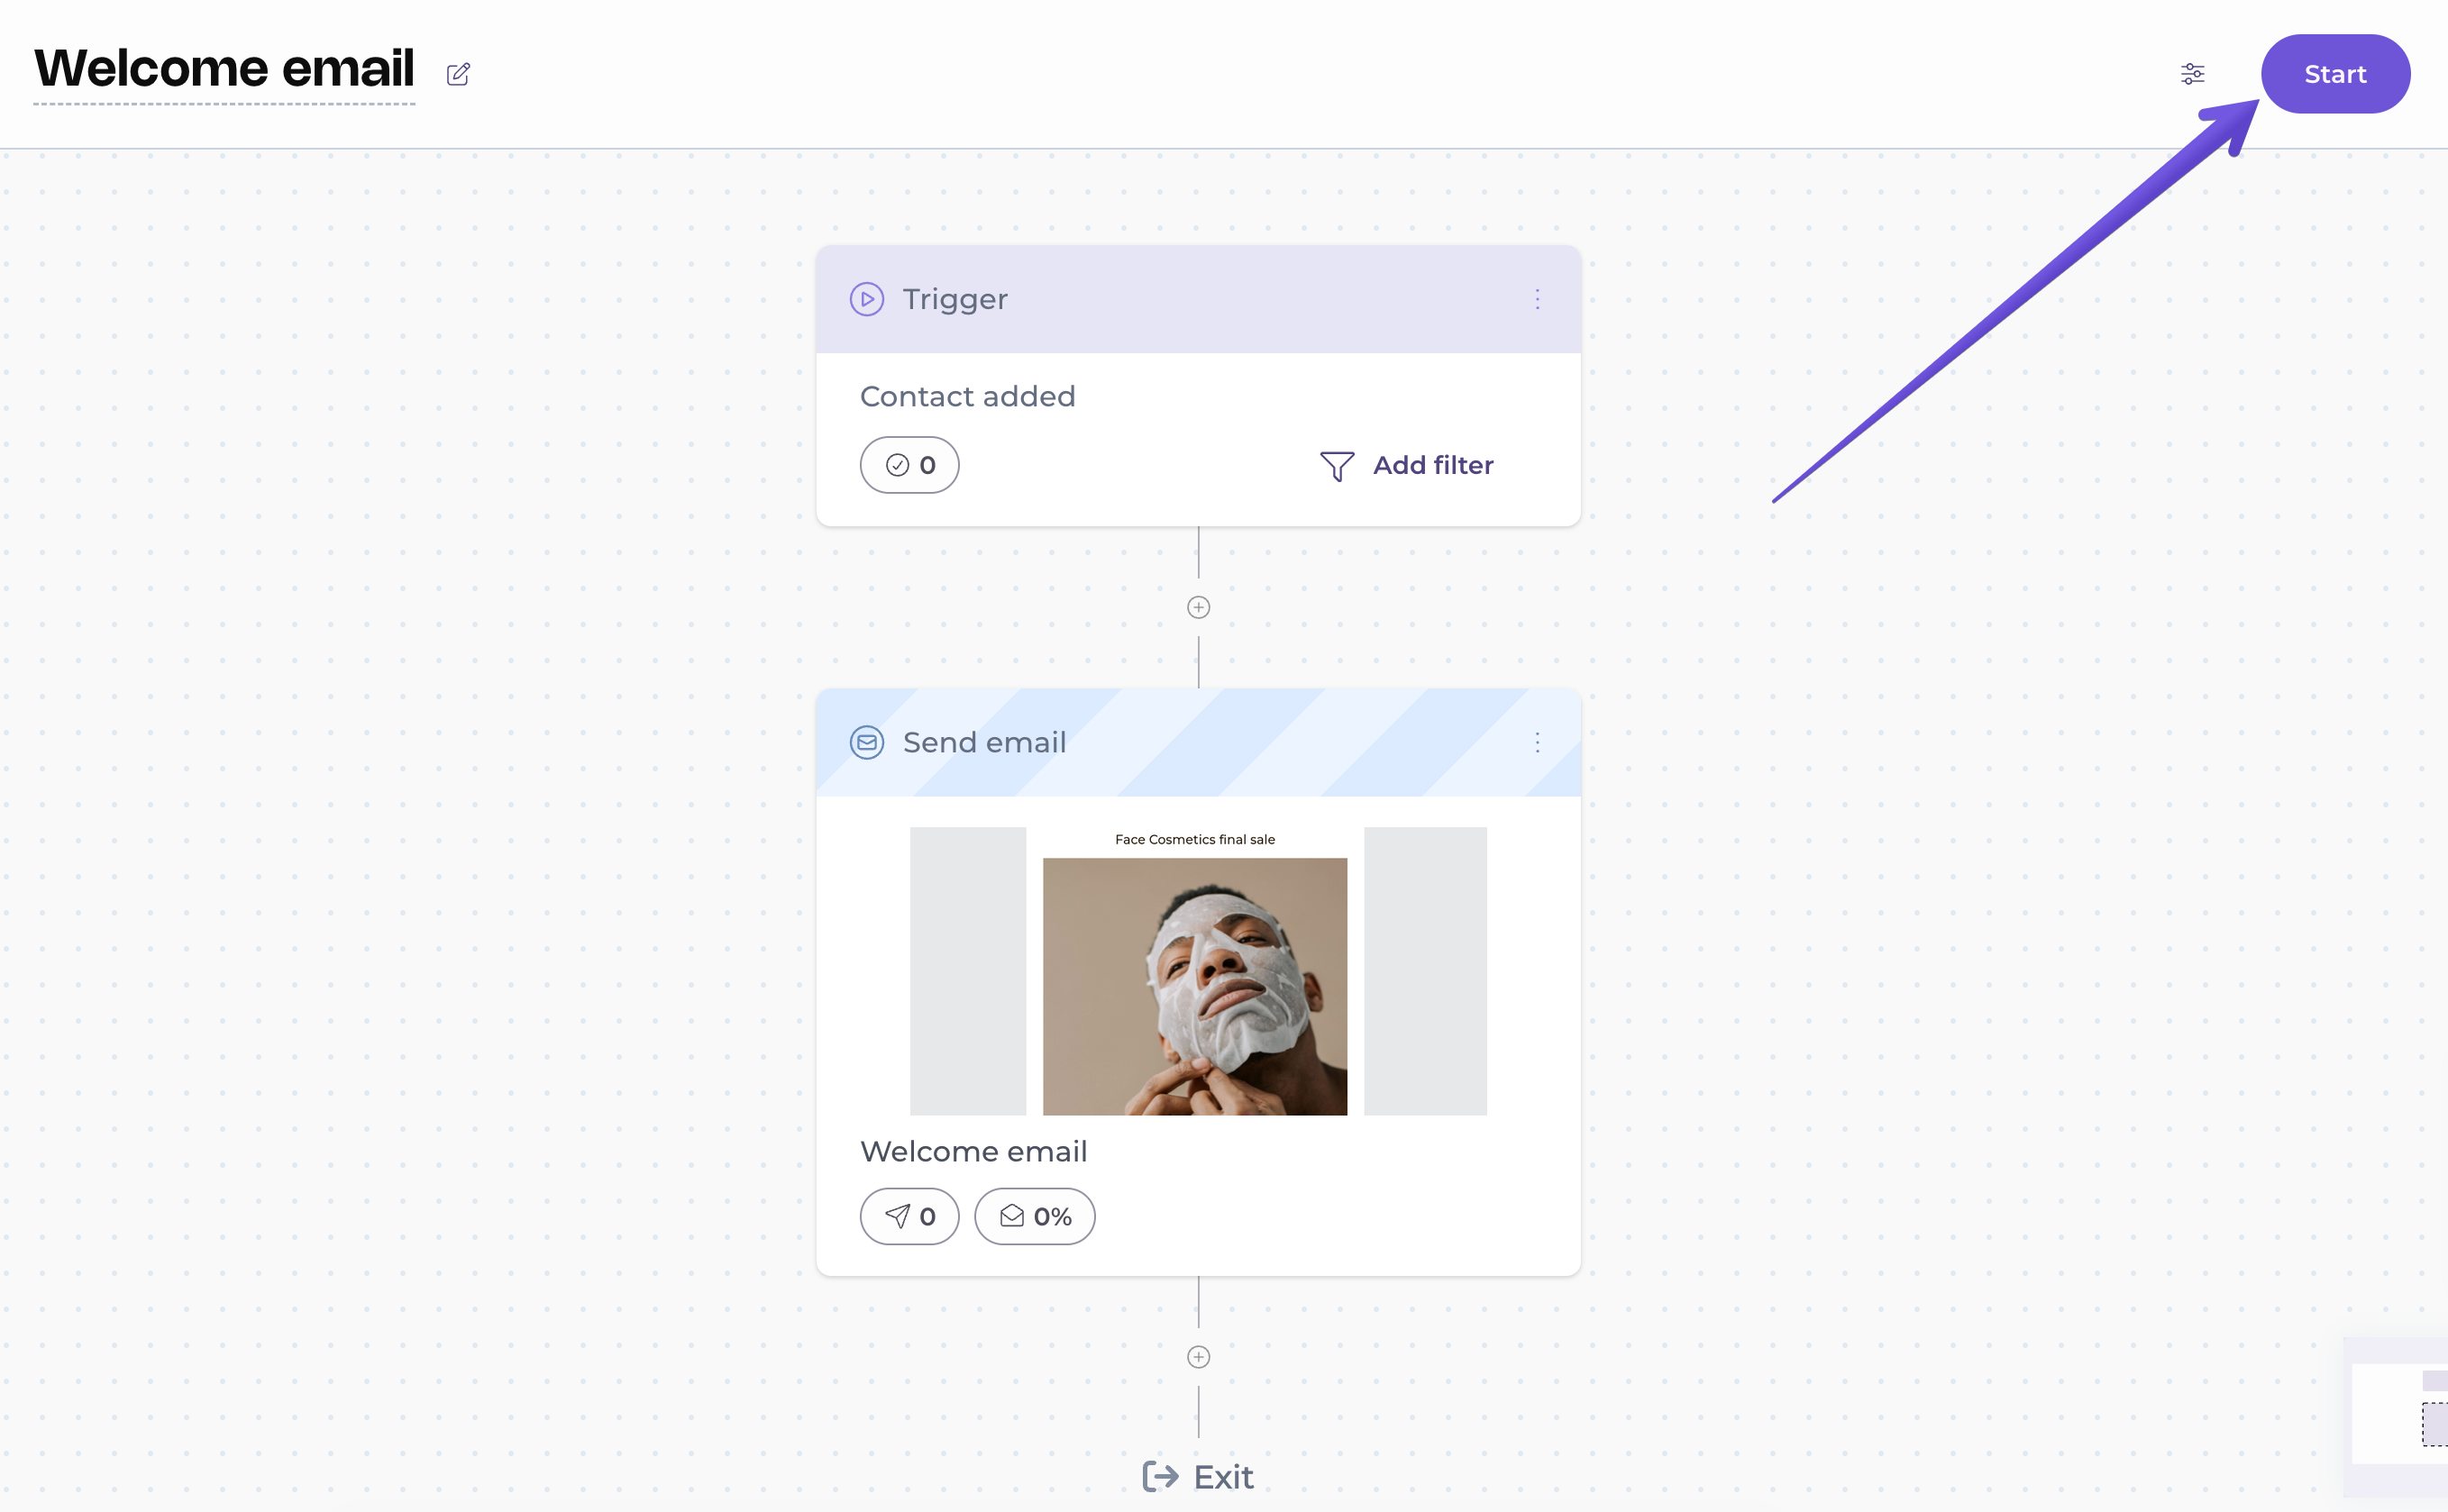
This is all you need to set up an automated welcome email! Click "Start" to enable it so that all new subscribers who join your list receive your welcome message.
To edit an already-enabled automation, you need to pause it first by clicking on the Pause button within the automation editor.
Check out our video tutorial:
Automation is a very flexible feature that allows you to connect various triggers, conditions and actions. If you're in doubt whether the automation you created will work as intended, or you're not sure how to create a specific scenario, don't hesitate to reach out to us. We're happy to help!