Verifying a new domain
In this article
Note: This article applies to EmailOctopus only. If you're using EmailOctopus Connect with Amazon SES please read this article.
The email address you used to sign up to EmailOctopus will be automatically verified, so you can start sending from it immediately. However, if you have your own domain, we strongly recommend going a step further and verifying it too.
Why should I verify my domain?
- Going through this process will help you achieve better deliverability and inbox placement. This is because, in the process of domain verification, we'll set up DKIM, SPF and DMARC for your domain – these are security measures that confirm to email clients (also called Internet Service Providers or ISPs, for instance, Gmail, Yahoo etc.) that we (EmailOctopus) have your permission to send from your domain on your behalf. As such, email clients will consider your emails sent through EmailOctopus safe and they'll have a better chance to land in the primary inbox.
- Verifying your domain would also allow you to send from any email address held under that domain. This means you won't need to verify any individual email addresses.
- Since Google and Yahoo introduced the new bulk email requirements in February 2024, domain verification is highly recommended to ensure your Google/Verizon subscribers receive your emails. And if you send large volumes (more than 5,000 emails per day to any of these ISPs), it's a must.
- All links within the email will be tracked using your own domain, building trust with the user.
- Finally, since emails sent from free email addresses (like Gmail, Yahoo, Hotmail etc.) are unlikely to be delivered, by default, all emails sent from EmailOctopus are routed through one of our own domains. This means that if you add youremail@gmail.com email address as a sender, your email will actually be sent from "youremail.gmail.com@send.eocampaign1.com" or similar. Verifying your domain will eliminate that adjustment, as your emails will then be sent from your own domain.
Step 1: Generating records
To begin the process, visit the Senders screen. Click Verify new sender, then Verify domain (recommended).

Enter your domain name in this format: yourdomain.com (no need to add www, https etc.).

Once you've clicked Start verification, you'll be presented with four CNAME records and one TXT record. Keep this page open as you advance to the next step.

Step 2: Applying records
If your DNS is managed by Cloudflare or Vercel, you can use Domain Connect to add all the required records in a single click:
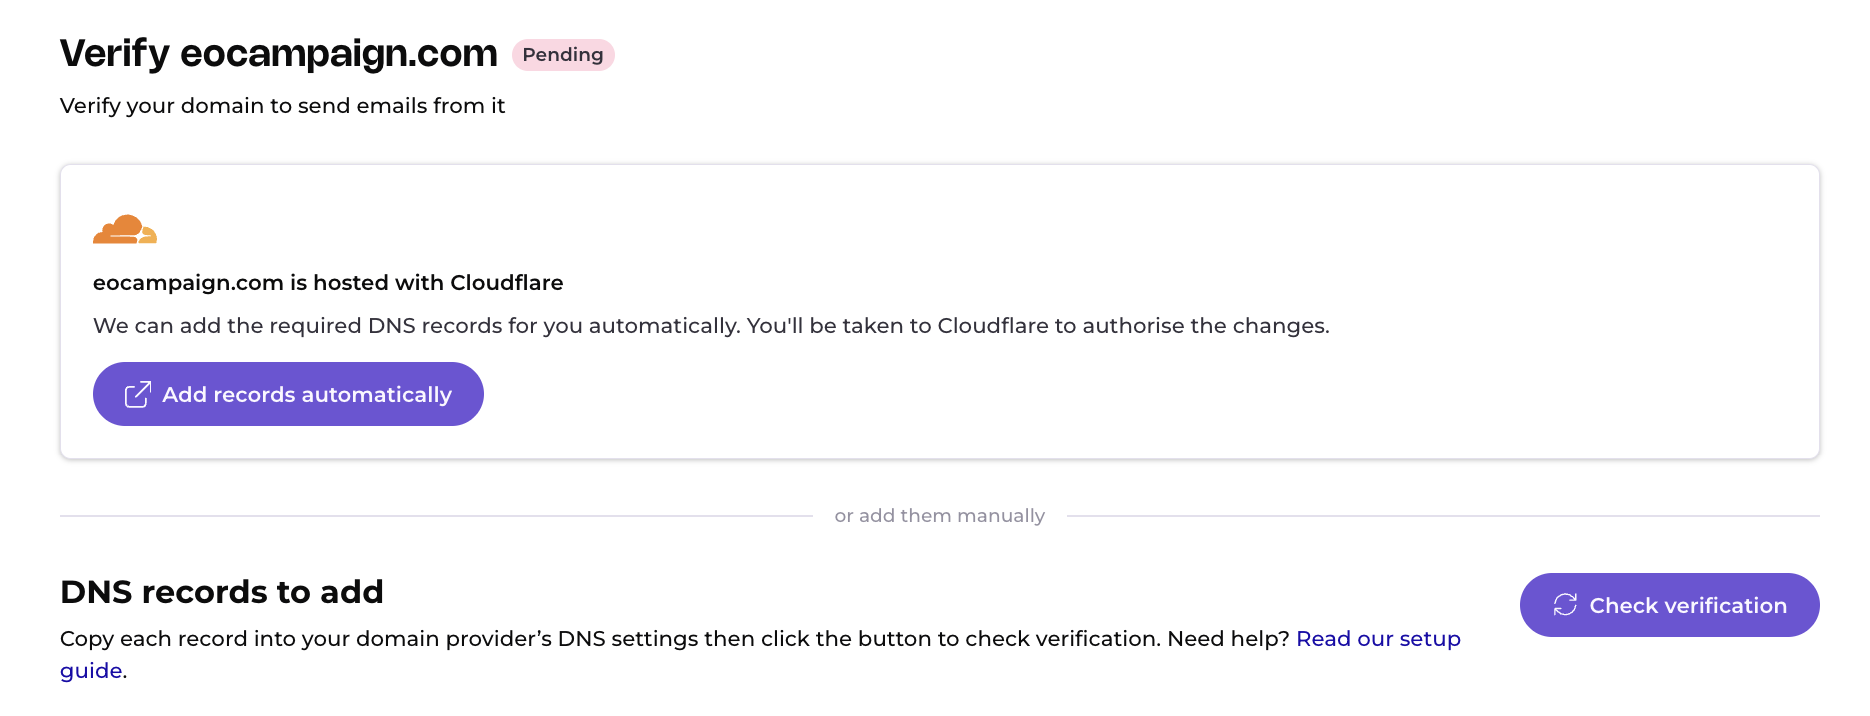
Once you click the "Add records automatically" button, all you need to do is authorise the records on the next page.
If you use a different provider or prefer to add the records yourself, you'll need to add the generated records to your Domain Name System (DNS) manually. Instructions on how to do this for a few popular DNS providers are below.
If you have any issues adding the records to your DNS, please check your DNS provider's documentation or reach out to their support.
Often, the DNS is hosted with the same company that provided your domain name. If you're unsure where you need to add your records, you can check it on this website – just type your domain name, click "search" and scroll down to "Name Servers".

The value you see there should indicate which service is responsible for your DNS. In the example above, it's Cloudflare.
Once you have logged in to the appropriate service that manages your DNS, create the new DNS records, copying the names and values exactly as they appear in EmailOctopus.
You may notice that we generate only CNAME records and no SPF record. That's not a mistake, we take care of the SPF record on our end, you don't have to edit it. We also generate a TXT record to set up your DMARC – adding this record to your DNS is required for your domain to be fully authenticated as a sender. If you have already set up a DMARC policy for your domain, you can skip the TXT record – it won't affect your deliverability.
Once you've added all the records to your DNS, return to EmailOctopus and click the Complete verification button at the top right to verify you have added all five records correctly.

Note: Not all domain providers' DNS setups will be the same. If you receive a Failed status upon clicking Complete verification, try creating the CNAME records with just the subdomain in your new DNS settings. Example: Remove ".yourdomain.com" from all CNAME records when you copy and paste them to your domain provider's DNS settings, so "eom.yourdomain.com" becomes just "eom".
If you need any help setting up your DNS records, please contact your DNS support – they'll be happy to do it for you.
Partially verified domain
If you see a yellow status saying "Partially verified" it means that we've located CNAME records for your domain and were able to set up DKIM and SPF, but the TXT record creating your DMARC policy is missing. This means that your emails may be blocked by some email clients that require publishing a DMARC policy for the domain you send from. You can learn more about it here.
To fully verify your domain, click on the "partially verified" status, copy the DMARC record and add it to your DNS. Then, return to your EmailOctopus account and click "complete verification".
Video guide
This video guides you through the process of generating records and adding them to your DNS.
Frequently asked questions and troubleshooting tips
- Can I verify my domain with EmailOctopus if I have already done it with another ESP?
Yes. Your domain can be authenticated with multiple services.
- I added the CNAME and TXT records to my DNS, but my domain doesn't get verified.
This usually happens when the newly added records aren't propagated across the network, so other servers don't recognise them yet. It's nothing to worry about – check again in a few hours, and if the verification doesn't go through, contact your DNS provider for more details.
It's also possible that you added the records in the wrong place. You can check where your DNS is located on this website – just type your domain name, click "search" and scroll down to "Name Servers".
- Do I need to set up SPF for my domain?
When you verify your domain, we create a subdomain (in the eom.yourdomain.com format) – this subdomain is used as a "mail from" for your sends on EmailOctopus. We set up the SPF for this domain on our end, so that it aligns with the mail from domain – you don't need to do anything else on your end. You can look up your domain's SPF record by visiting this page and typing your domain name with the "eom." prefix.
- If I verify my domain with EmailOctopus, will my emails be sent from my own servers?
No – we send all your emails from our own infrastructure. Domain verification is only used to authenticate you as a legitimate sender, but we're still the ones sending your emails.